Resources
To get to the list of resources, go to the left menu and click Resources.

1. List of Resources
By default, resources are sorted by Resource Name, but you can also sort them by Date Added.
The list of resources in Fleet Control displays all the individual resources in your cloud account. Just like Cloud Account statuses, there are three statuses for resources, and it's important to note that the status of these resources is checked periodically. The three resource statuses are:
- Online: This status means that the resource is reachable by Fleet Control.
- Lost Connection: This status indicates that the resource is not reachable by Fleet Control. For possible reasons, please refer to this section in the Troubleshooting guide.
- Connection Status Pending: This status signifies that the Fleet Control has not checked the resource due to errors during checking or not being run yet. If a resource's status is missing for an hour, it will be set to Connection Lost.

It's worth noting that these statuses are exclusive to Fleet Control and are only used to indicate whether we have control over the resource or not.
2. Adding Resources
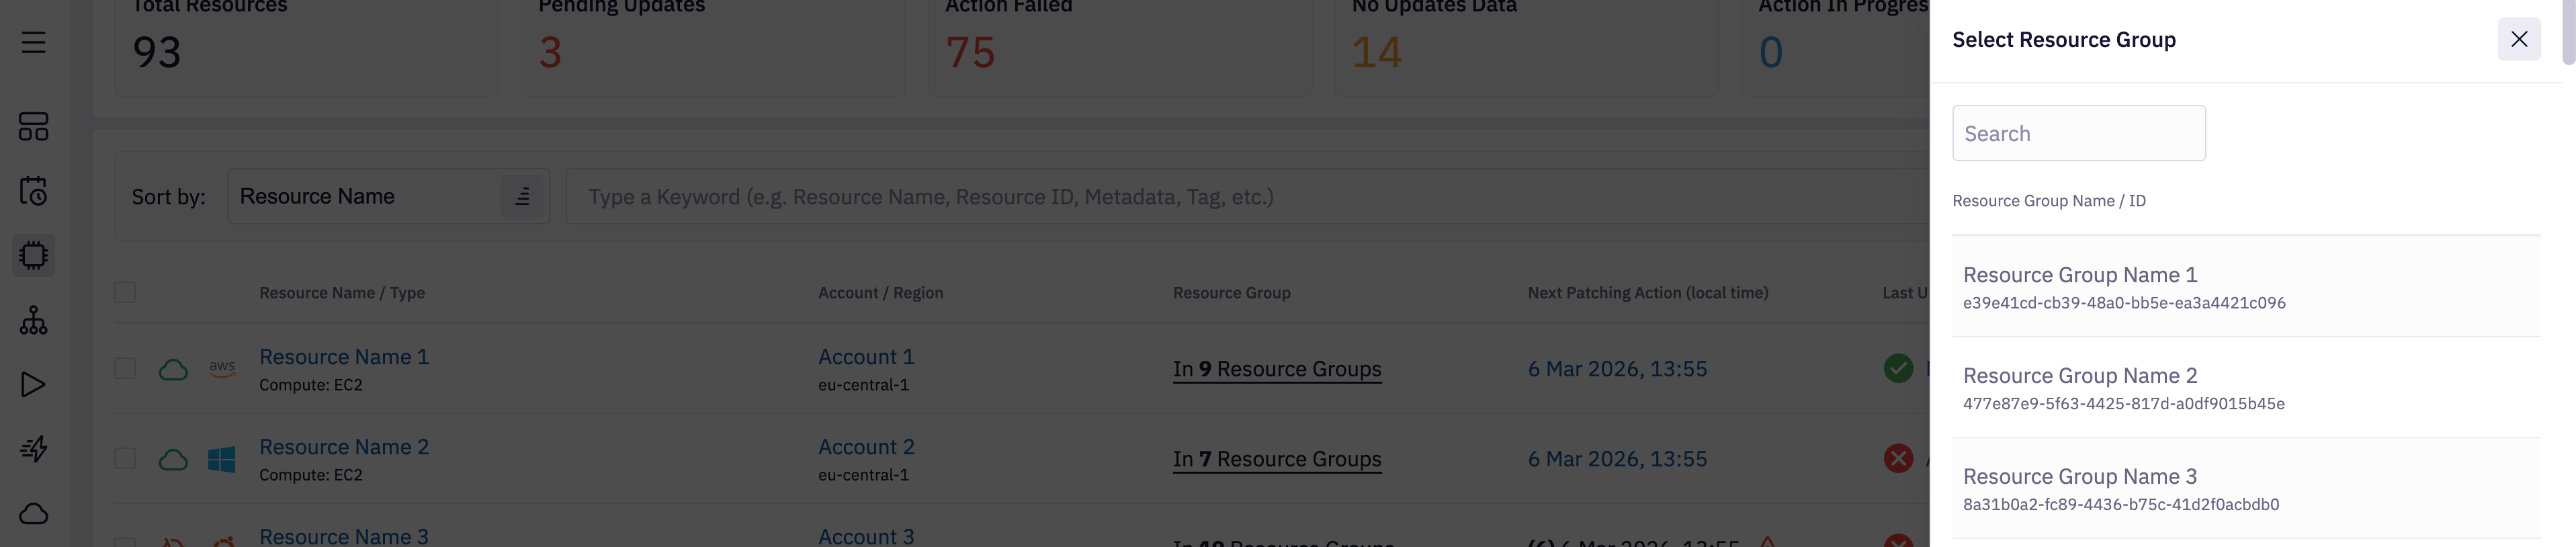
To add a resource to an existing resource group:
-
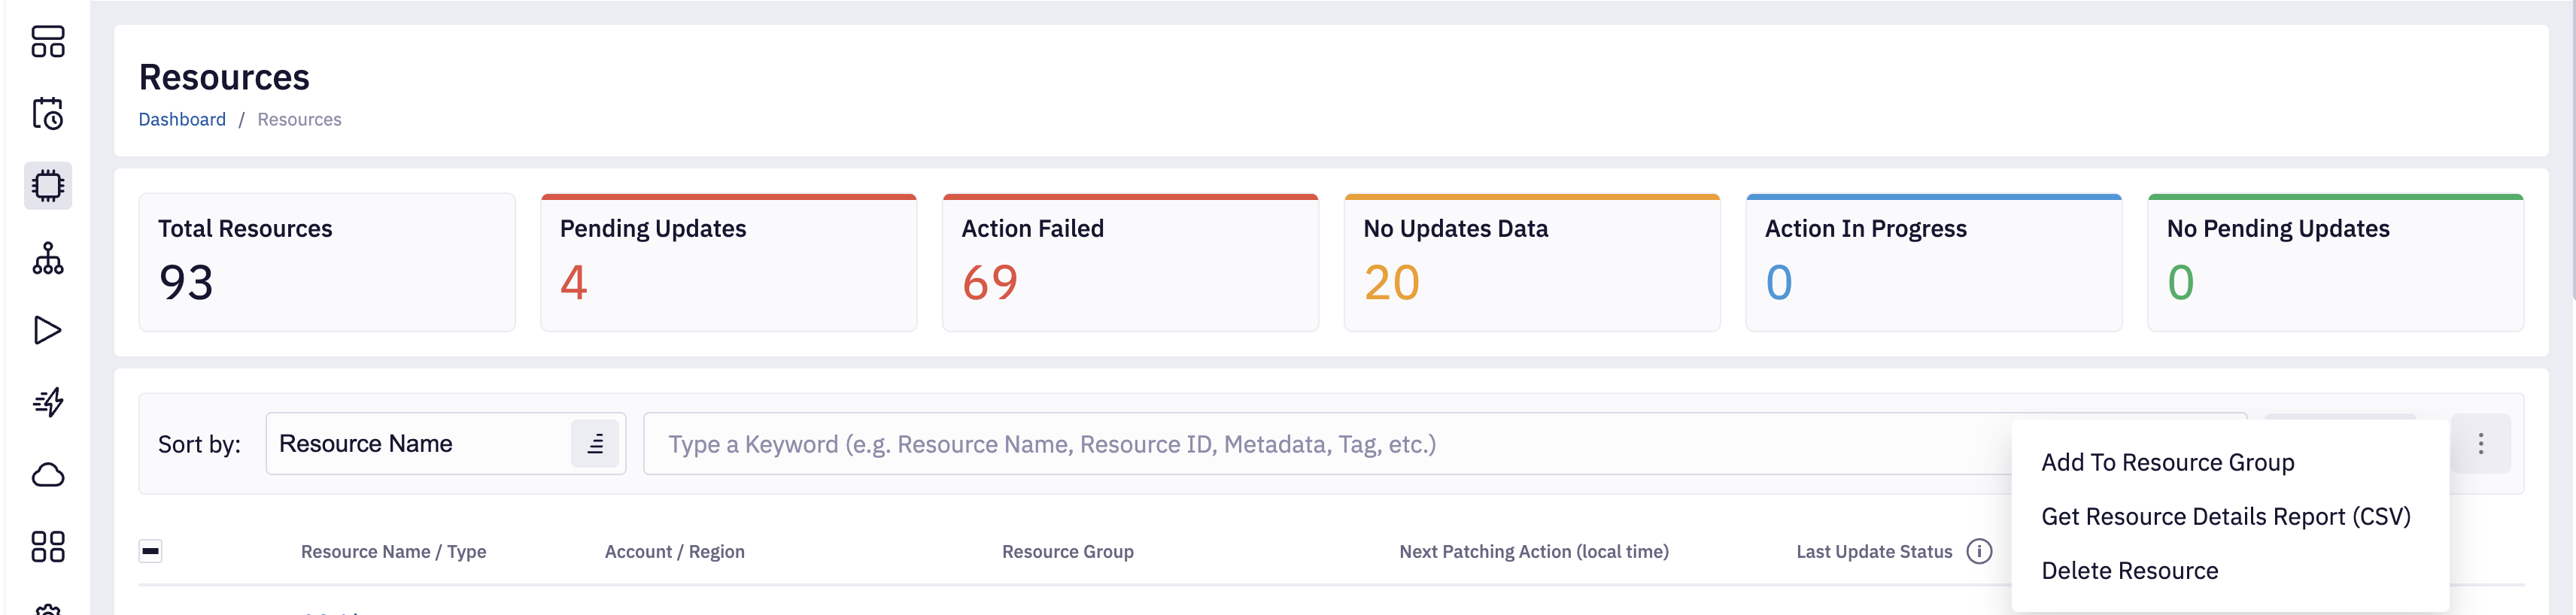
First, click on the three-dotted button as shown below.

-
Then, click Add to Resource Group.

-
Finally, Select the resource group you wish to move the resource to.
To add multiple resources simultaneously:
-
Click the checkboxes next to the resources you want to select.

-
Then, click the three-dotted button as shown below and click Add to Resource Group.

-
Finally, Select the resource group you wish to move the resources to.

3. Deleting Resources
In FleetControl, resources can be added either through automatic cloud account scanning or manual onboarding via AWS Systems Manager (SSM). It's essential to understand the distinction between these methods, especially regarding resource removal.
Automatic Cloud Account Scanning:
When resources are added through automatic cloud account scanning, FleetControl comprehensively scans the entire cloud account and identifies all associated resources. Once added, these resources cannot be directly removed from FleetControl. Instead, to remove a machine, you must delete it from the respective cloud account within the cloud environment. After deletion, the resource will automatically disappear from FleetControl after a period of 2-3 days.
Manual Onboarding via SSM:
Alternatively, if a resource is manually onboarded into FleetControl using AWS Systems Manager (SSM), managing it within FleetControl becomes more flexible. You can easily delete the resource directly from FleetControl using the delete resource option.
If a user deletes a resource belonging to a resource group, FleetControl automatically removes the resource from the resource group. If the resource group contained only one resource and that resource is deleted by the user, the resource group remains, but it will be empty as there are no resources inside.
To delete a resource manually:
-
First, click on the three-dotted button as shown below.
-
Then, click Delete Resource.

To delete multiple resources:
-
Click the checkboxes next to the resources you want to select.
-
Then, click the three-dotted button as shown below and click Delete Resource.

4. Generate Resource Report
You can generate a resource details CSV report directly from the Resources list.
Open the three-dot actions menu and click Get Resource Details Report (CSV).
You can generate reports in three ways:
- Single resource - Use the row-level actions menu for one resource.
- Selected resources - Select multiple rows, then generate one report for those selected items.
- All filtered resources - If all resources are selected, Fleet Control uses your current search phrase and active filters.
After requesting a report, track its status in Resources → Reports and download it once the status is Completed.
5. Filter Resources
You can filter Resources by pressing Filters button.

Ten types of Resource filters are available in three groups:
Resource Details Group:
-
Date Added - You can define a specific time range to view resource added within that period. This makes it easy to target resources based on when they were added, giving you precise control over your search.
-
Cloud Provider - Find resources based on their cloud account provider.
-
Operating System - You can find resources based on their operating system. You can select generic type, like Windows or Linux or you can be more specific with more fine-grained subtypes like Windows Server, CentOS, Ubuntu etc.
-
Region - Filter resources based on the region in which they are deployed.
-
Resource Tag Key and Tag Value - Search for resources by their tag keys and values. Simply enter a key and value in the corresponding input fields. One key-value pair corresponds to a single tag. To add multiple tags, click the Add Tag button. This will return resources that contain all specified tags. If the entered tag keys are the same but the values are different—for example,
env=productionandenv=development— resources with either tag will be returned. If you enter a tag key and leave the tag value empty, such aspriority=, all resources with that tag key will be returned, regardless of the value.
Resource Origin Group:
-
Cloud Account - You search resources by cloud accounts that you previously added to Fleet Control. See Cloud Accounts for more details.
-
Resource Group - Search for resources in the selected resource group. See Resource Groups page to get more information.
-
Plan - Search for resources in the selected plans. See Plans page to get more information.
Resource Status Group:
-
Resource Ping Status - Search by resources status. More in List of Resources section.
-
Last Update Status - Filter resource based on last Resource Update Status. This filter corresponds to the counters that visible above list of resources. If you select exclude update statuses, then they won't be reflected in counters.