Create Action Batch
This page explains how to create and configure an Action Batch within a plan.
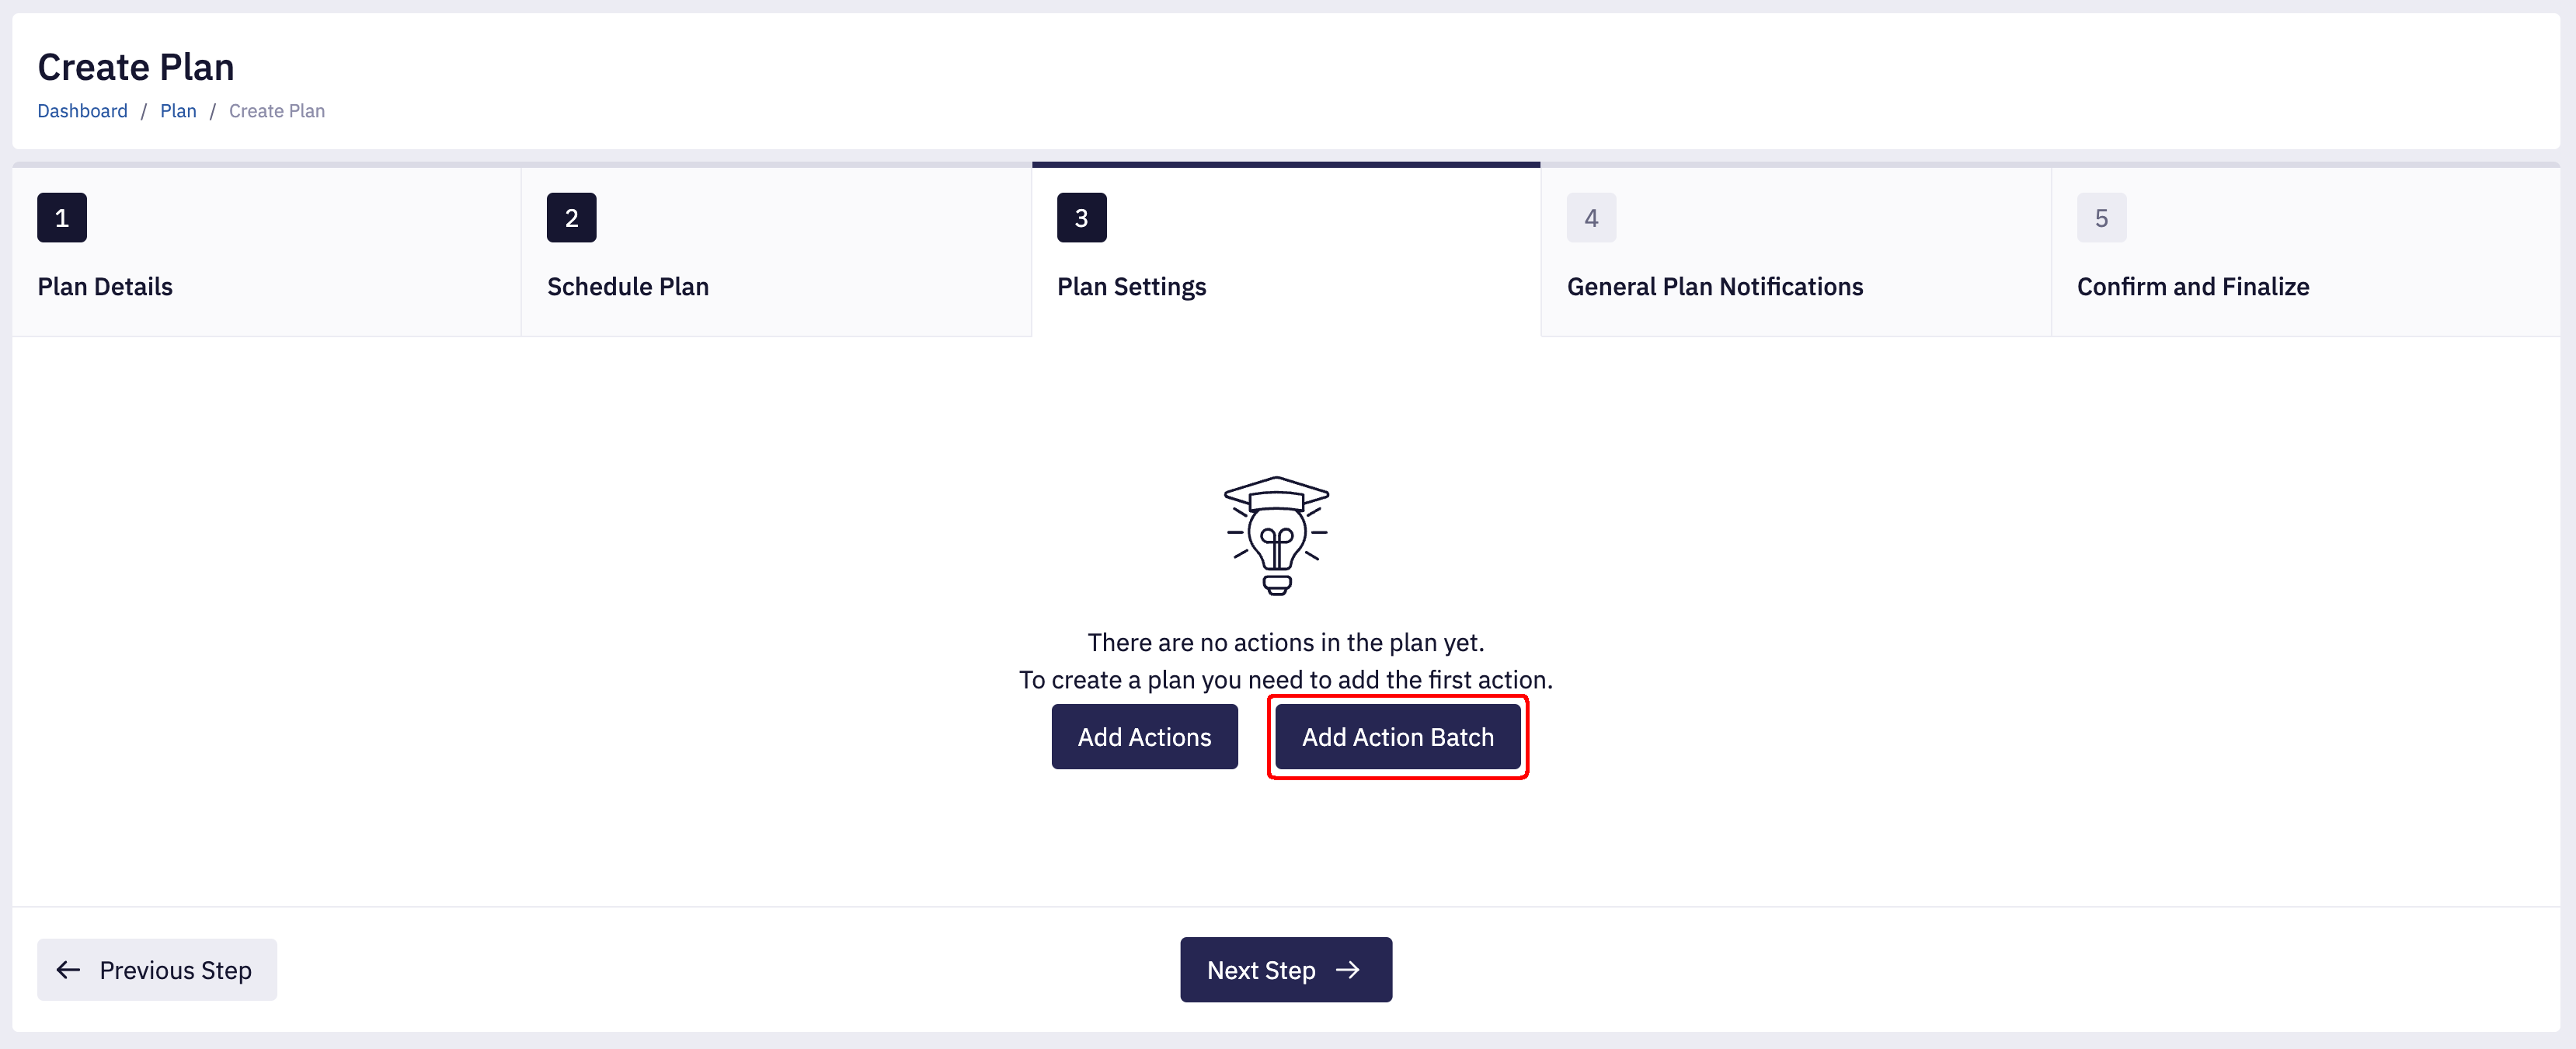
Creating a Batch while creating a Plan
- Add action batch: Click the "Add Action Batch" button in the plan creation wizard.
- Add actions to a batch: Select the actions from the sidebar that you want to include in the batch.
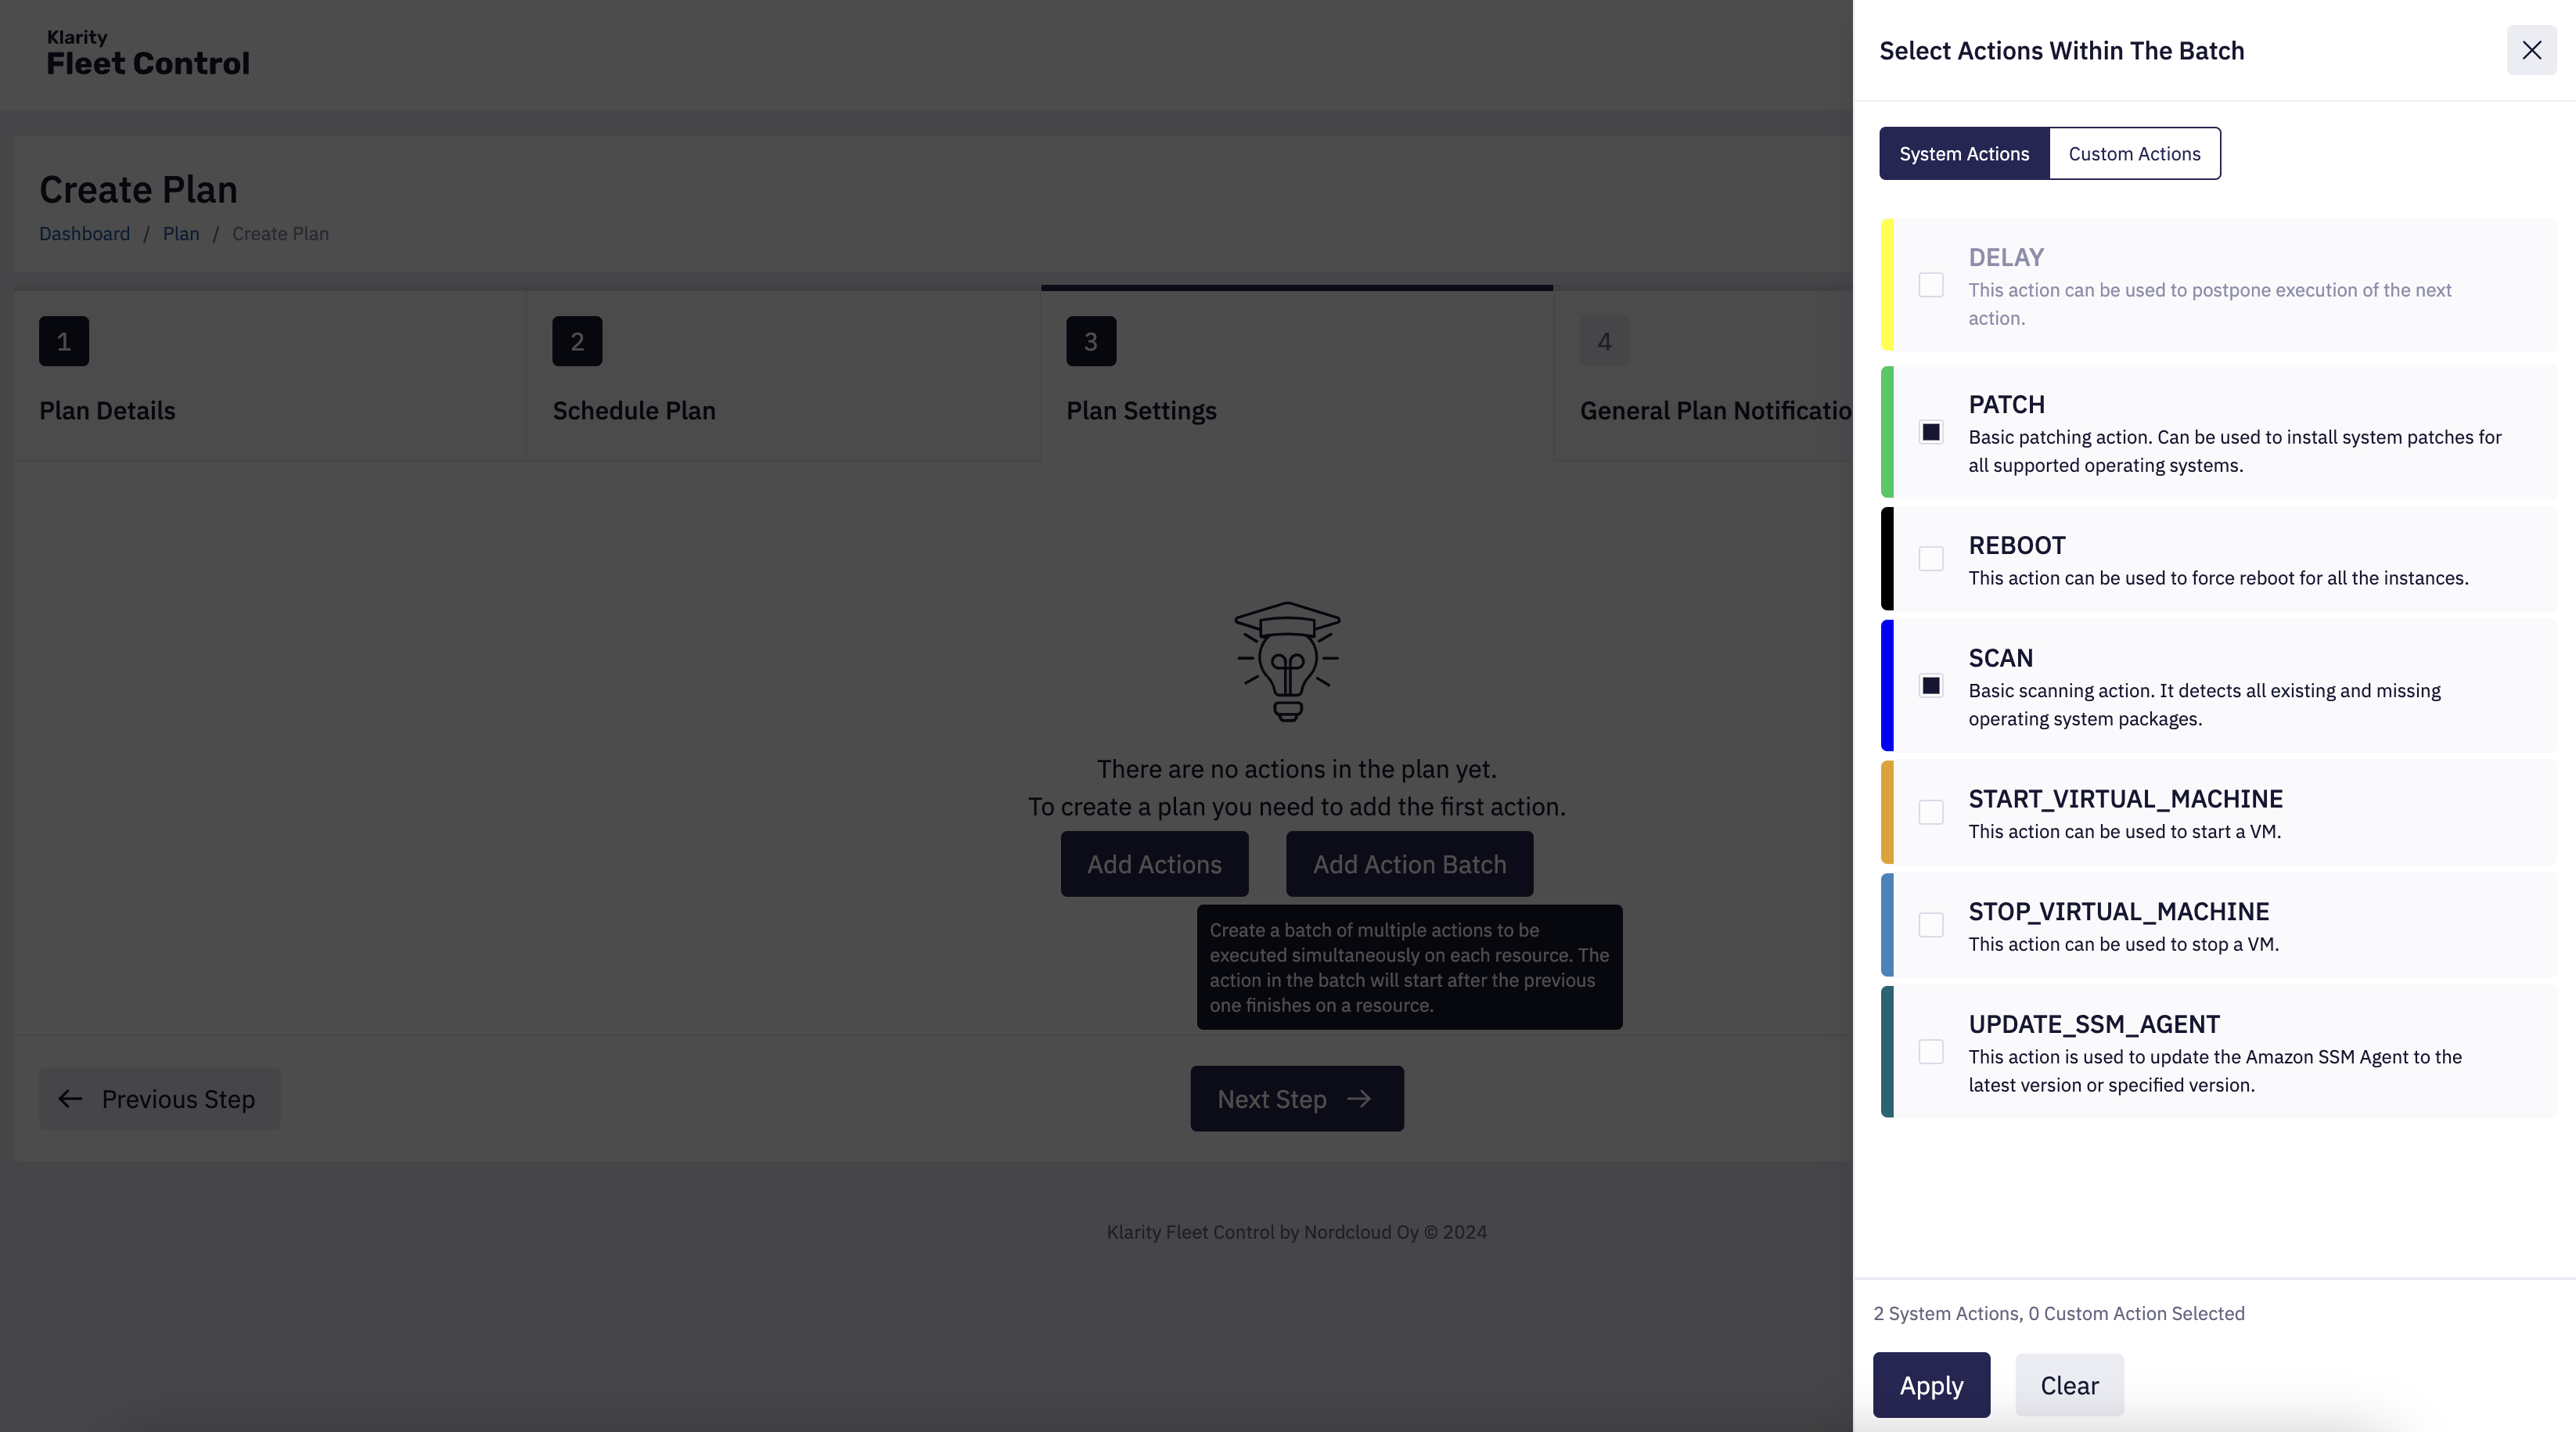
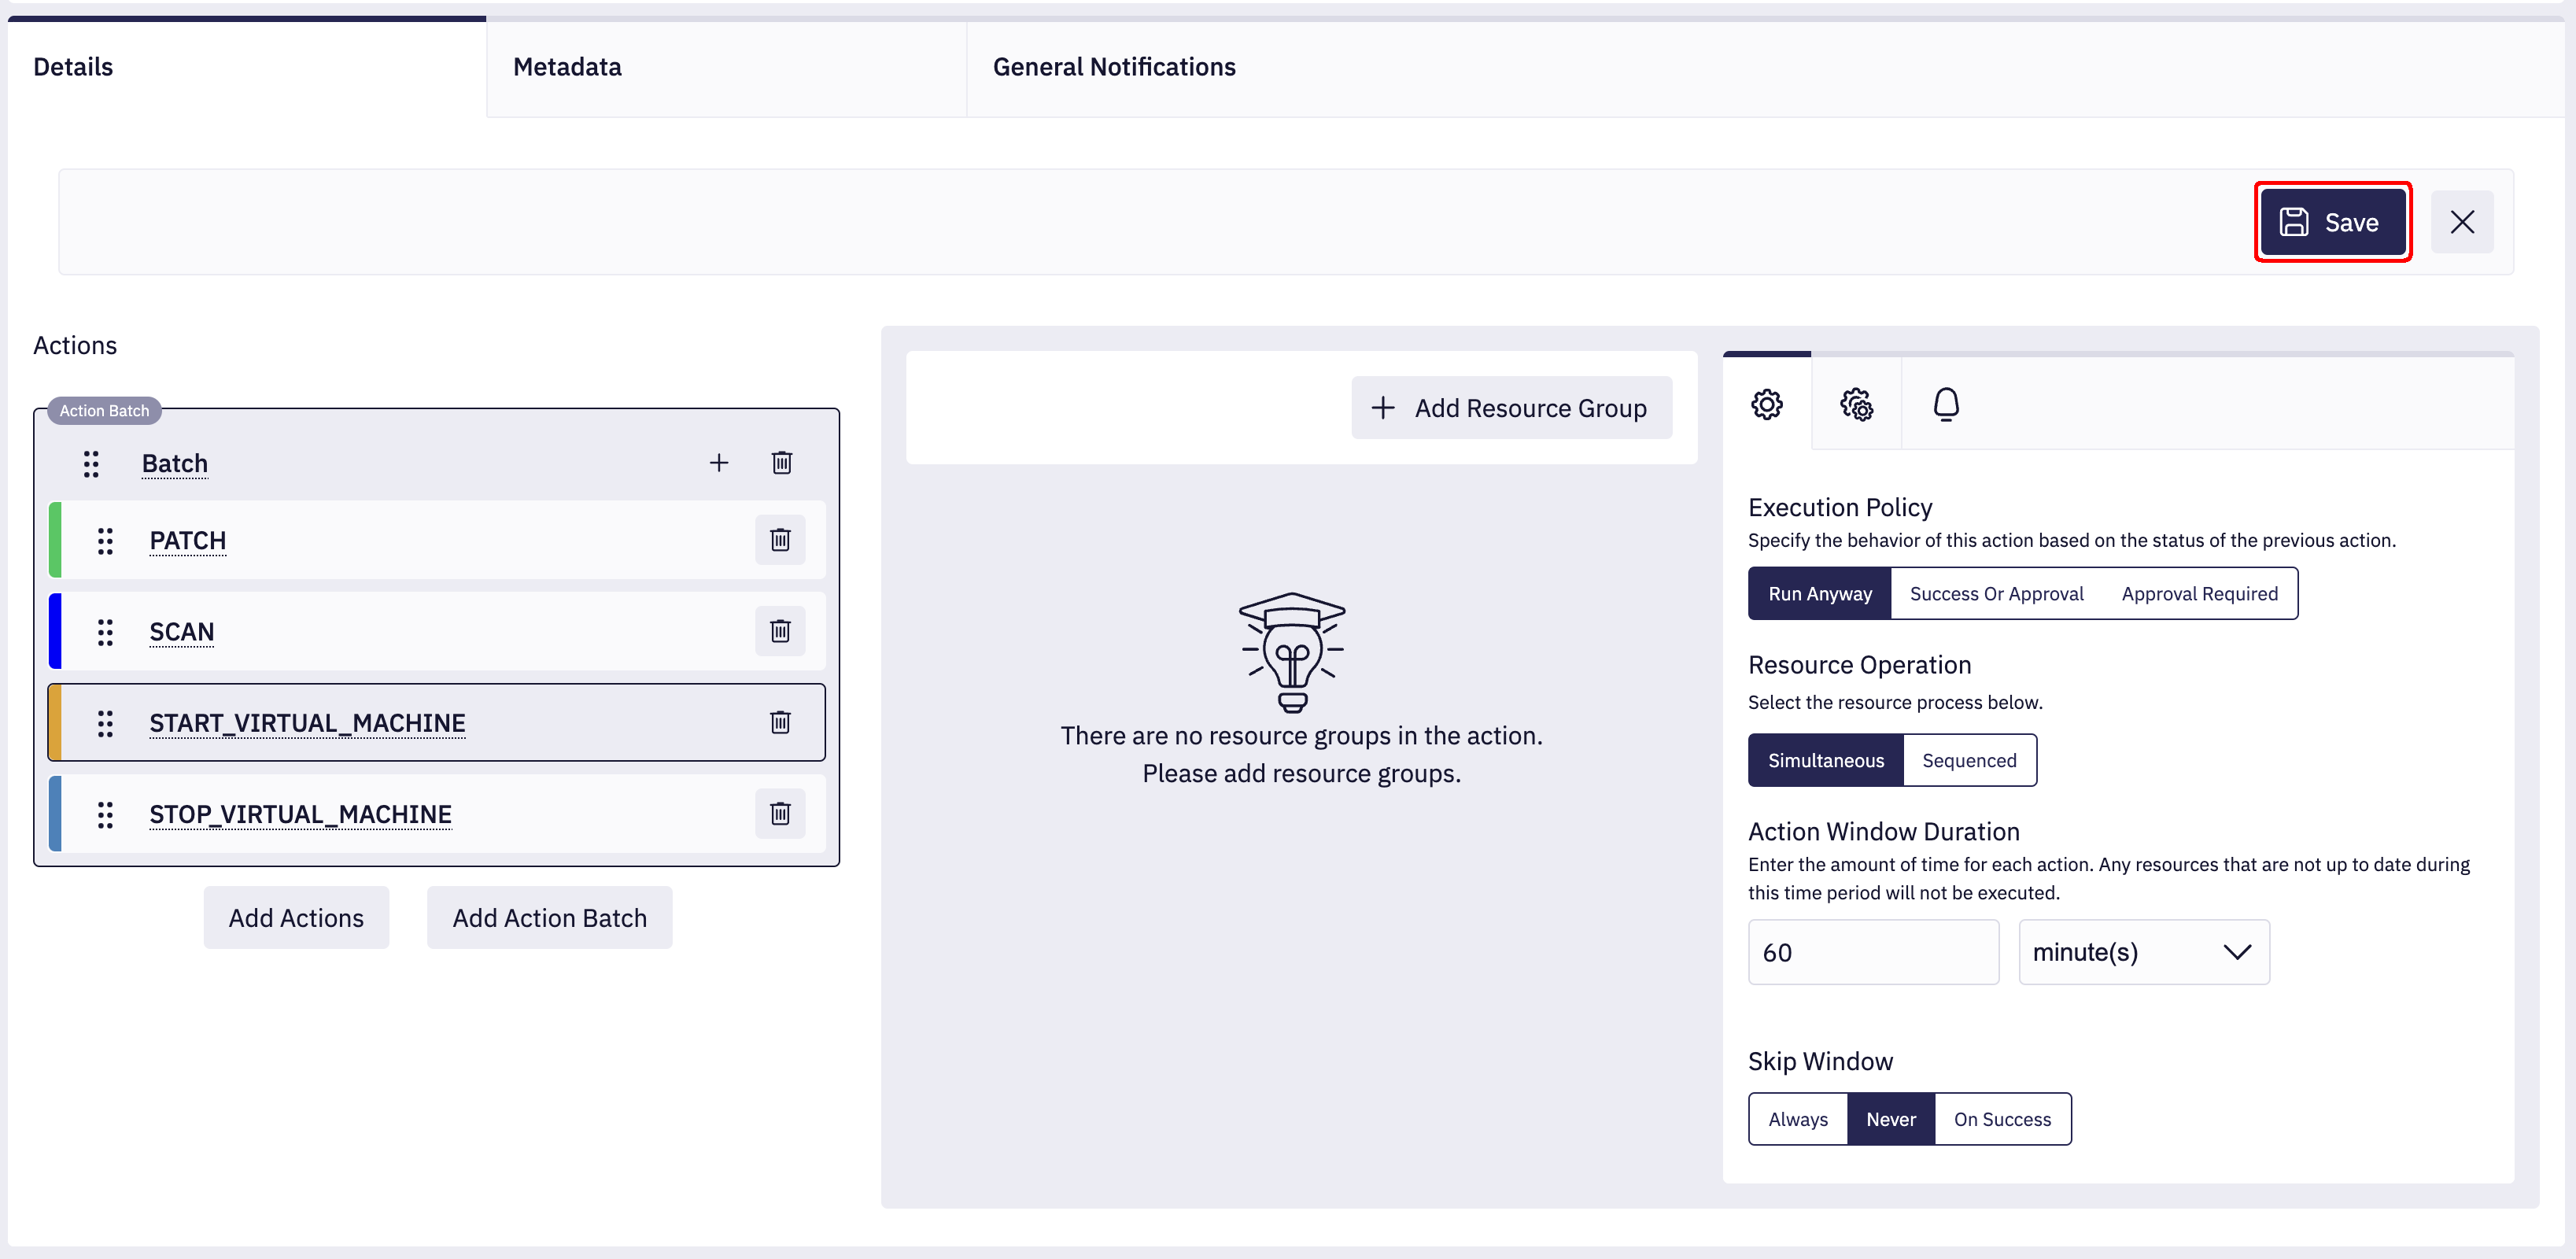
Only Resource Based actions can be added to a batch. 3. Name your batch: Press the "Apply" button and name your batch. Then press "Save" to add it to the plan.

Creating a Batch in an existing Plan
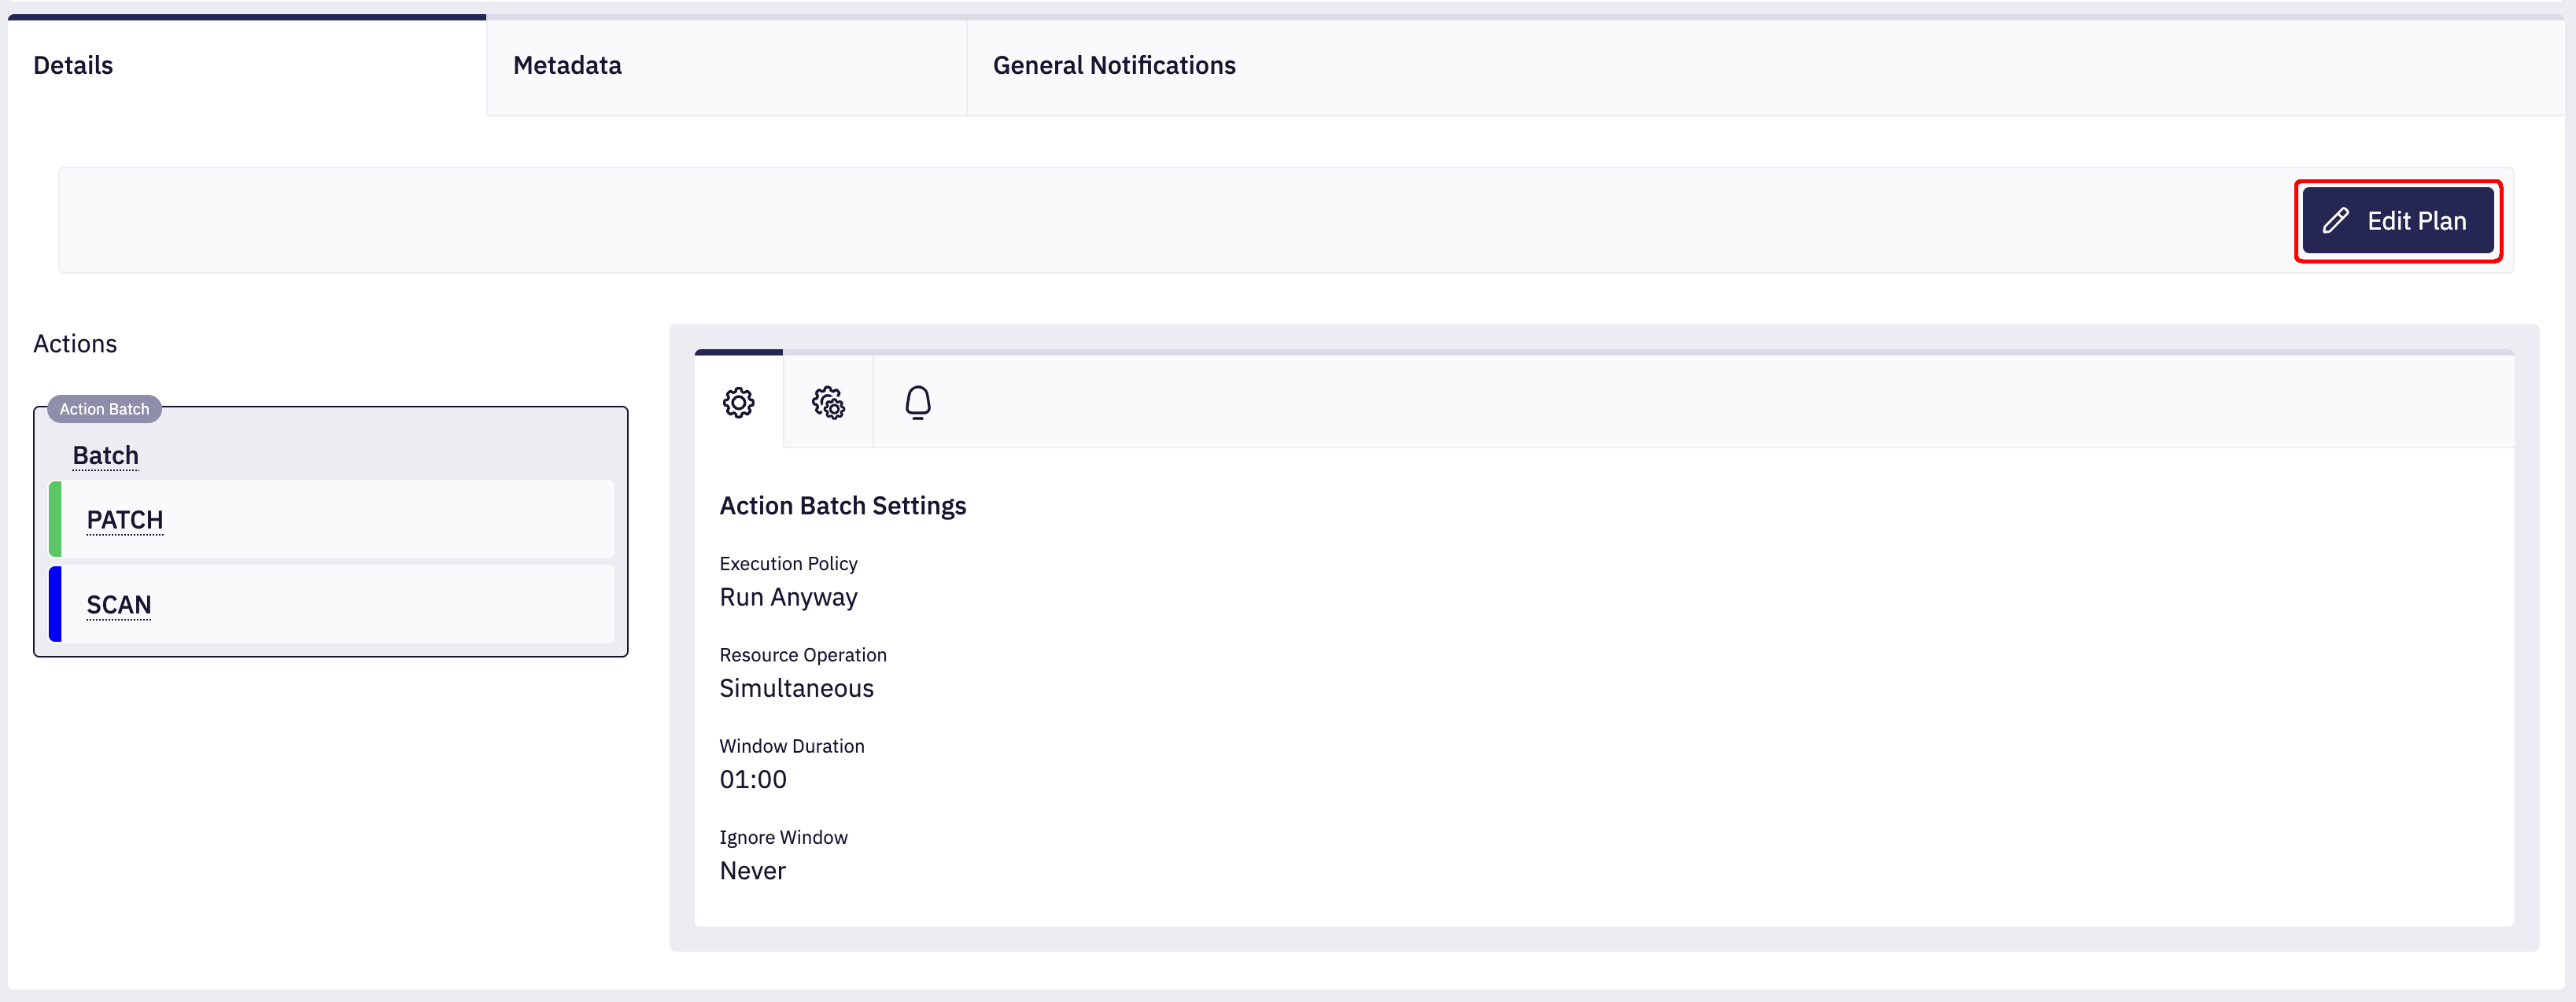
- Edit Plan: Enter plan edit mode by clicking the "Edit Plan" button.
- Add action batch: Click the "Add Action Batch" button in the plan edit mode.
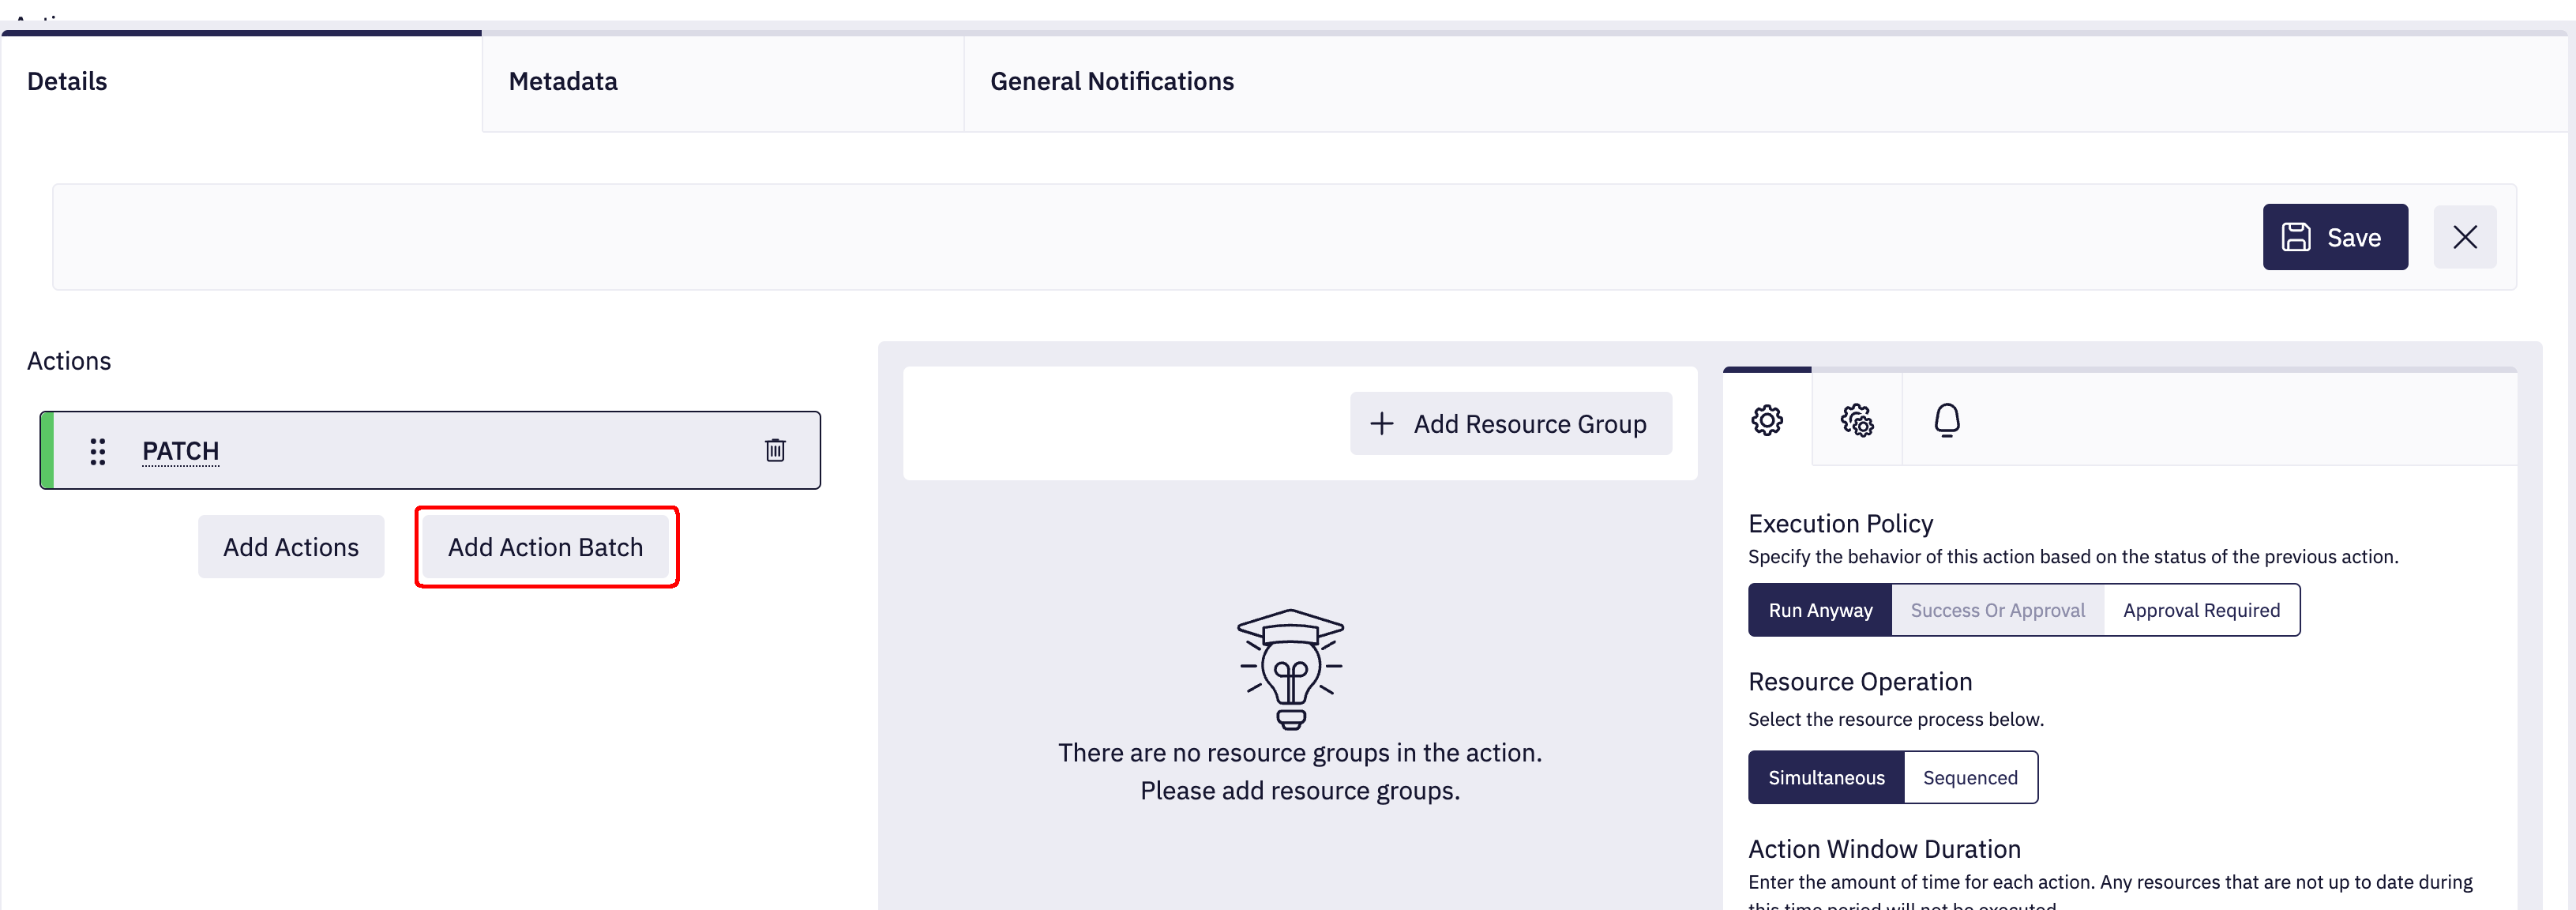
- Add actions to a batch: Select the actions from the sidebar that you want to include in the batch.
- Name your batch: Press the "Apply" button and name your batch. Then press "Save" to add it to the plan.
- Save your plan: Press the "Save" button to save your Plan.
Adding Actions to an existing Batch
- Edit Plan: Enter plan edit mode by clicking the "Edit Plan" button.
- Click Plus Icon: Click the "+" button next to the batch name. This will open the action selection sidebar.
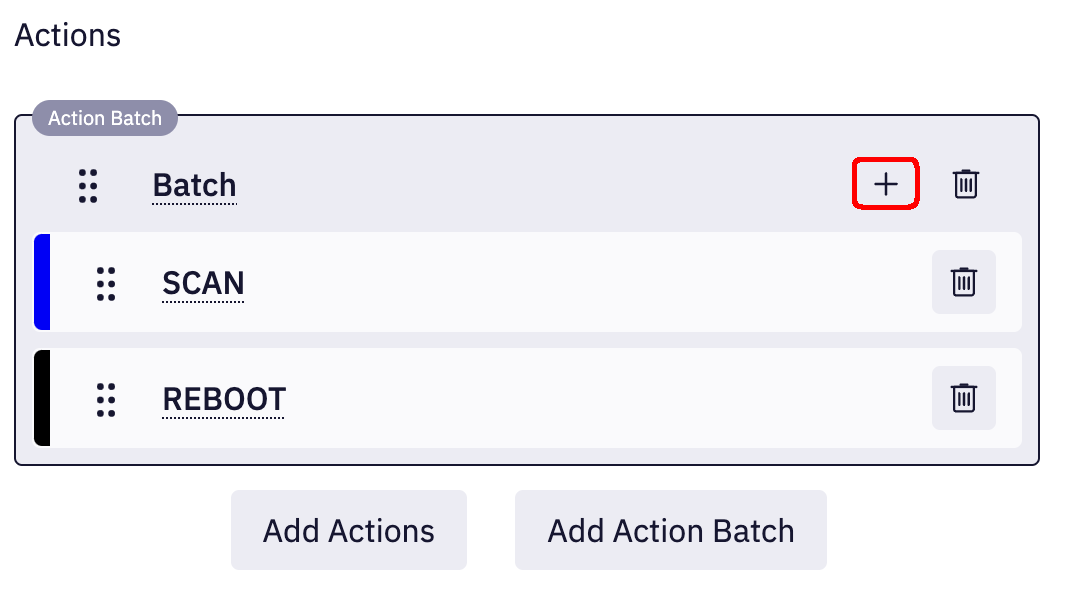
- Add actions to a batch: Select the actions from the sidebar that you want to include in the batch.

- Save: Press the "Apply" button and "Save" the plan.
Removing Batch of it's actions
- Edit Plan: Enter plan edit mode by clicking the "Edit Plan" button.
- Locate Action: Find the action or batch you wish to remove.
- Remove Action: Click the "Remove" button (trash can icon) associated with the specific action.

- Save: Press the "Save" button to save your changes.
Changing the order of Actions within a Batch
Just like with individual actions, you can change the order of actions within a batch by dragging and dropping them into the desired sequence. You need to "Edit Plan" to do so.