Add AWS
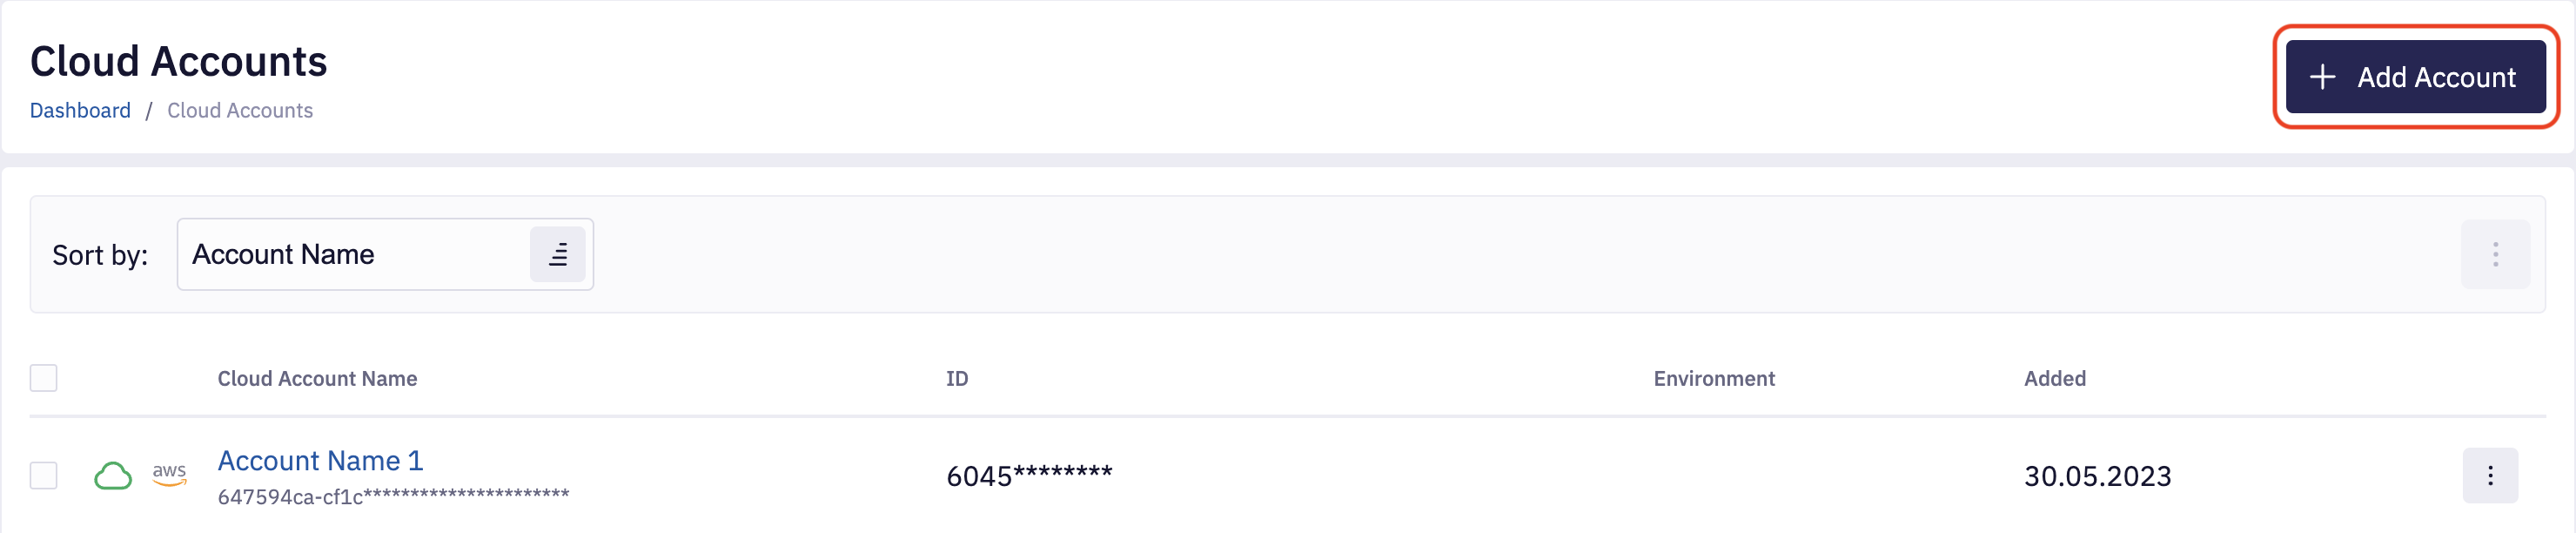
1. Navigate to Cloud Accounts List
To Add a new AWS Account, navigate to the Accounts section and click on Add Account.
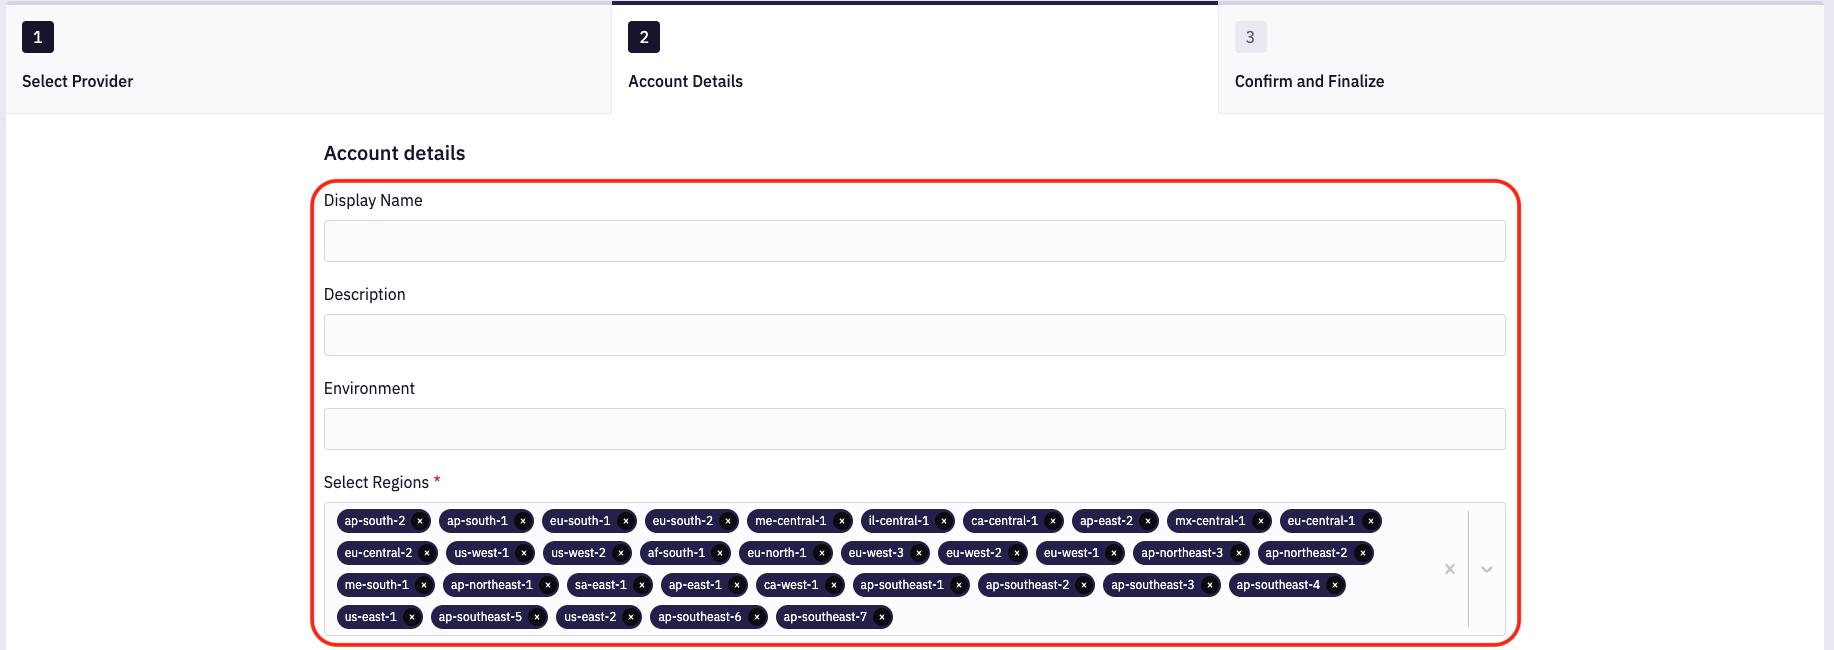
Select the AWS provider; on the next page, provide the account Display Name, Description, Environment, and Regions. By default, all AWS regions are selected, you can remove regions if needed.
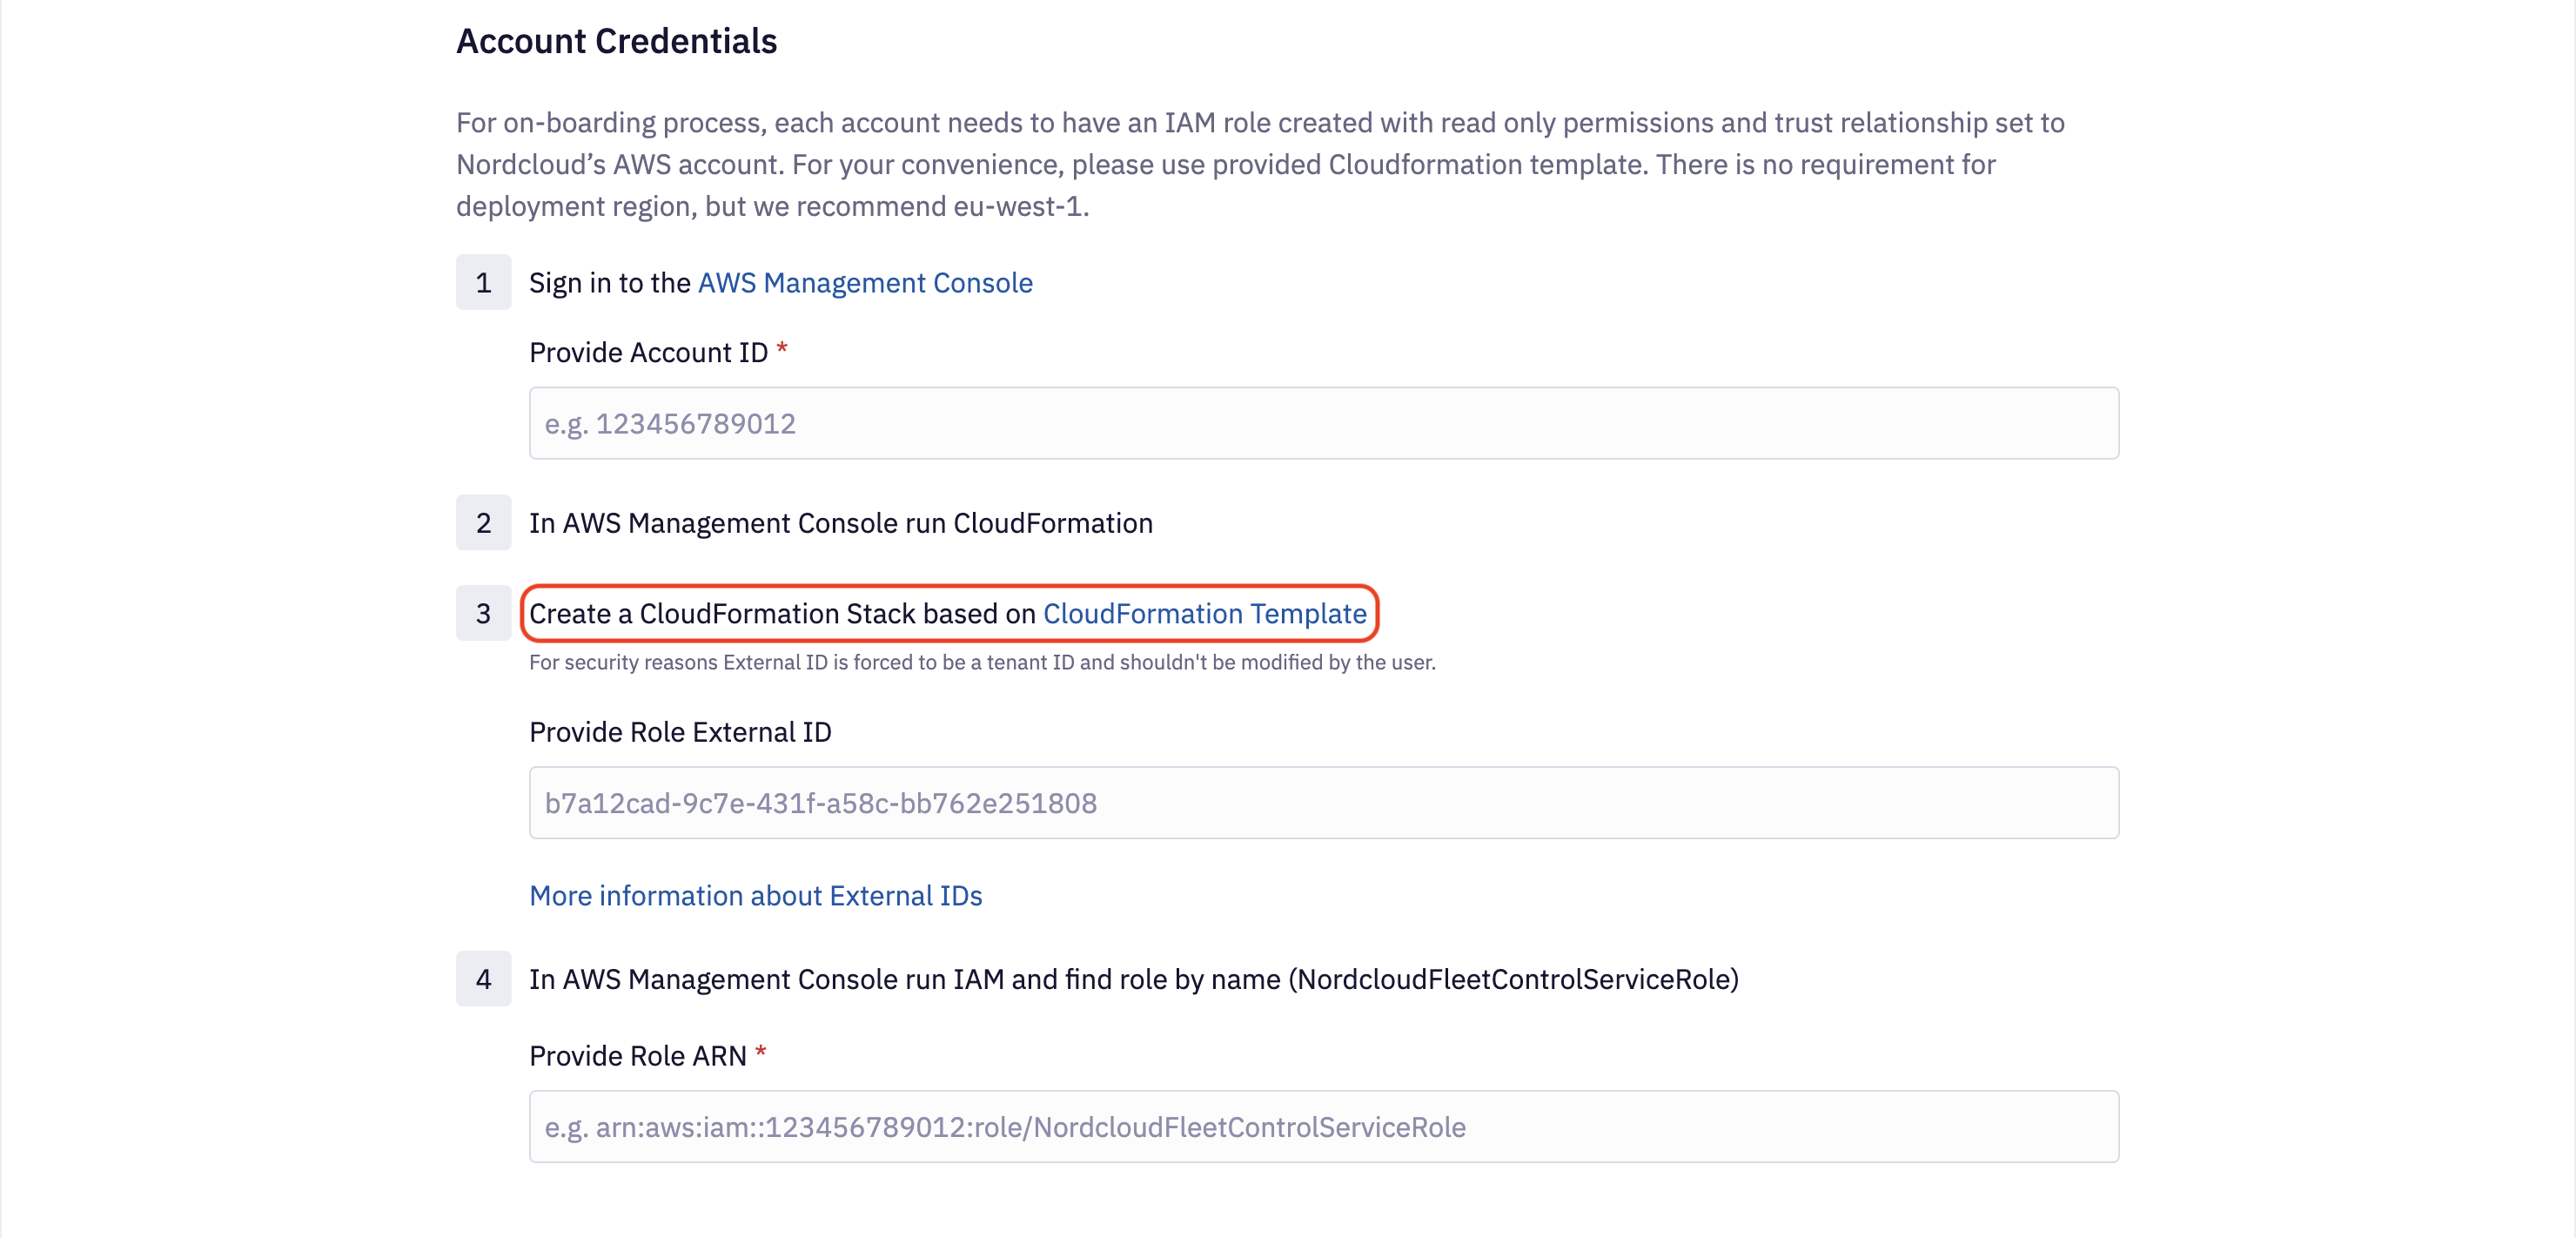
2. Provide Cloud Credentials
Each AWS account must have an IAM role created with permissions required by KFC and a trust relationship set to Nordcloud’s AWS account for onboarding. For your convenience, please use the onboarding form to generate ready to use CloudFormation Template by clicking the CloudFormation Template link. There is no requirement for deployment region, but we recommend eu-west-1 (Ireland).
Please note that the generated CloudFormation template is tenant-specific, so you can't reuse it for different customers.
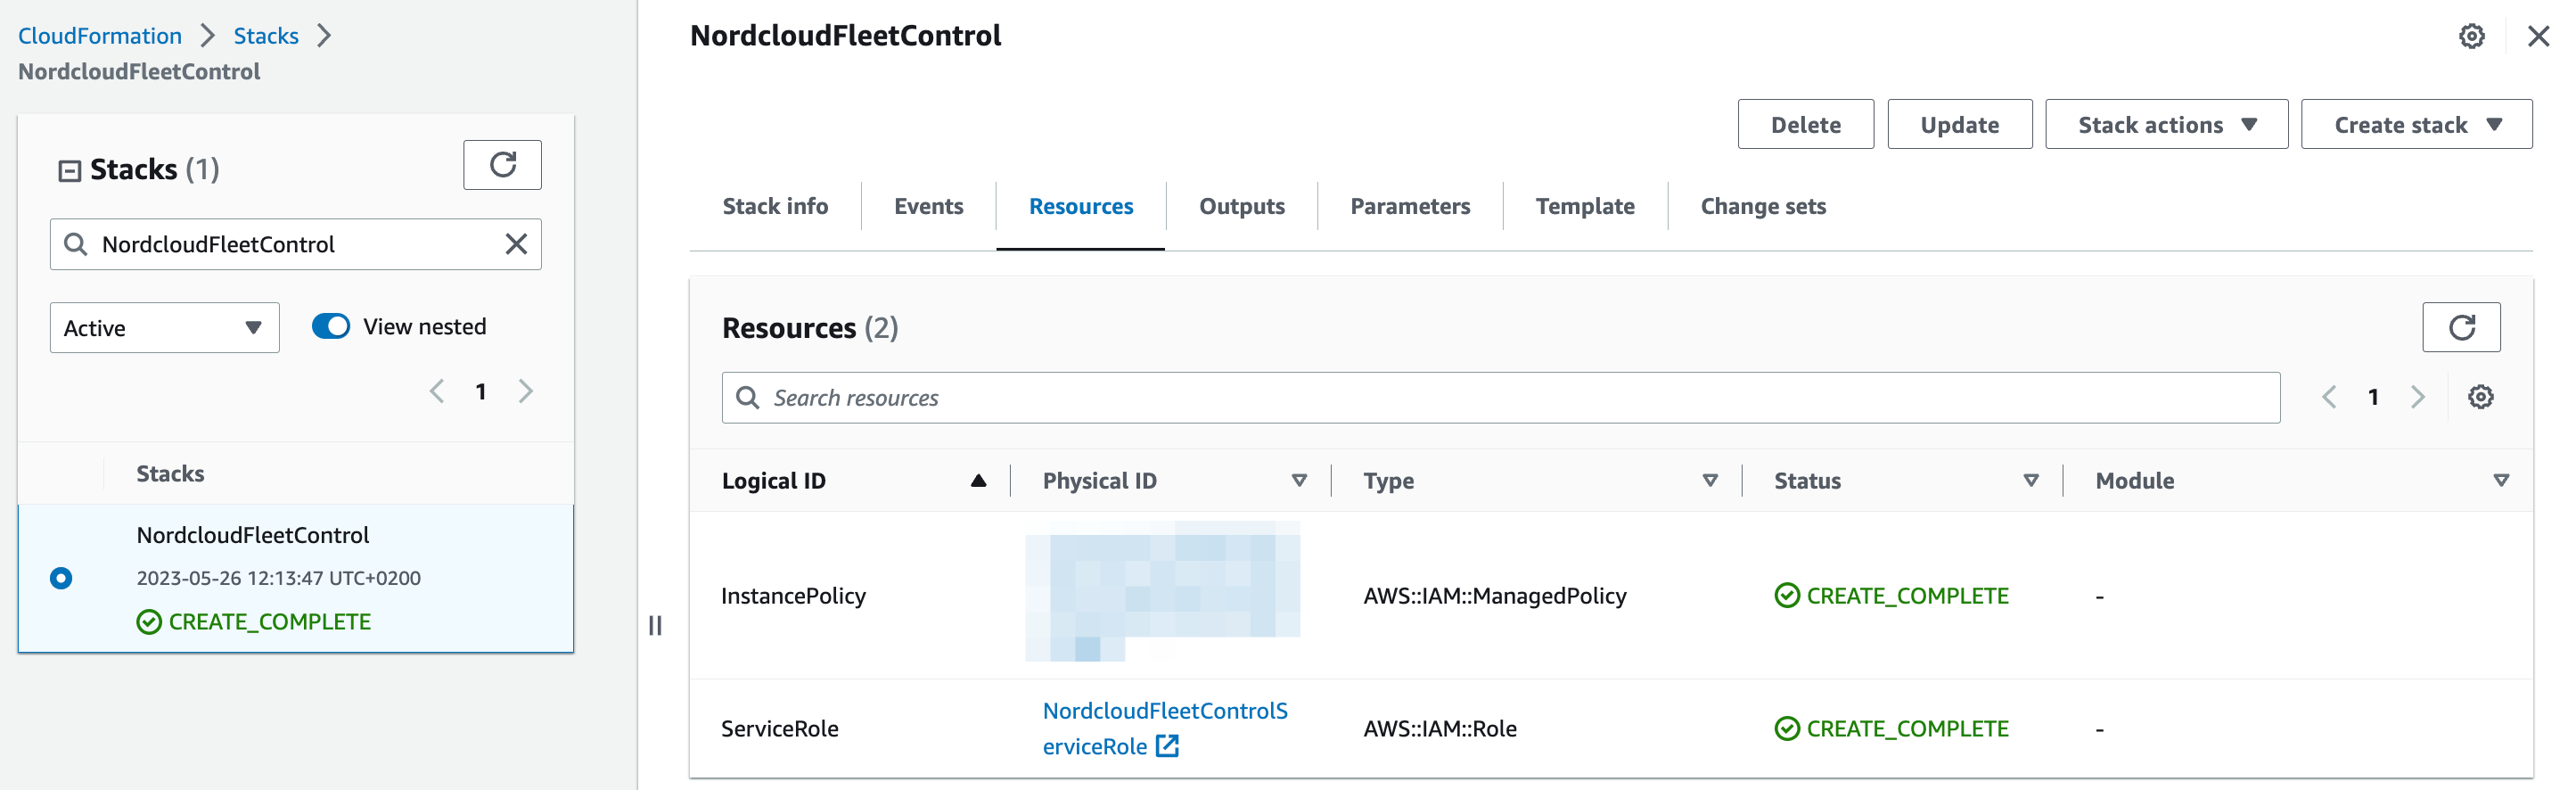
In the AWS Console, create a new stack based on generated template and wait for the operation to be completed. As a result, it will create two resources:
- KFC uses the IAM role named NordcloudFleetControlServiceRole to access your AWS accounts.
- The IAM policy called NordcloudFleetControlEC2PatchingPolicy has to be applied to EC2 instances.
There are 3 AWS accounts referenced in the CloudFormation template:
286863837419- account in which Fleet Control production infrastructure is deployed;855341727128- proxy account used by Fleet Control for assuming roles in the customer accounts;- account created by the Fleet Control that is used to store logs and register hybrid machines.
Each customer has its own account for this purpose. The exact account ID can be checked in the generated template's
Descriptionfield, which should be at the top of the template YAML file. It's also visible in the AWS Console in the "Stack info" section.
Once the IAM role is ready, get its ARN and provide the input for Account ID (AWS account ID where the IAM role is created) and Role ARN. After that, review the account configuration and complete the onboarding process.
Cloud credentials are automatically validated when a new account is added. Because of that, it is impossible to add an account without valid credentials. The credentials are most likely invalid if you encounter any error on saving account configuration.
3. Update EC2 Instance Profile
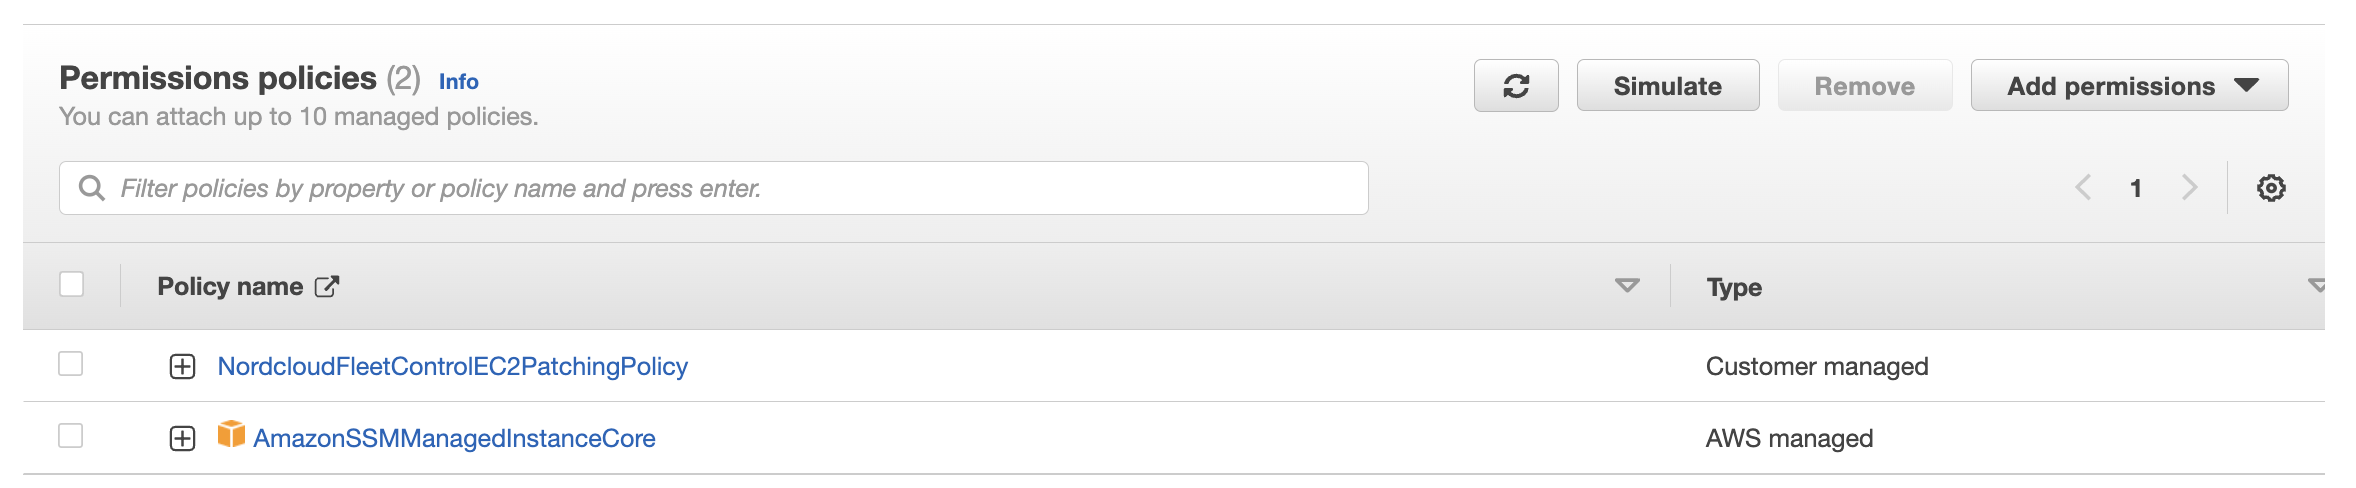
The IAM role created in the previous step grants KFC access to AWS Account. This is, however, not enough to correctly execute operations on EC2 instances. Because our solution is based on an EC2 agent, each EC2 instance must have IAM permissions required by AWS Systems Manager. Please navigate to the AWS Console, and for all EC2 instances, assign the following policies:
- AmazonSSMManagedInstanceCore - Base SSM Policy allowing the SSM Agent to work.
- NordcloudFleetControlEC2PatchingPolicy - Additional policy required by KFC to access execution logs.
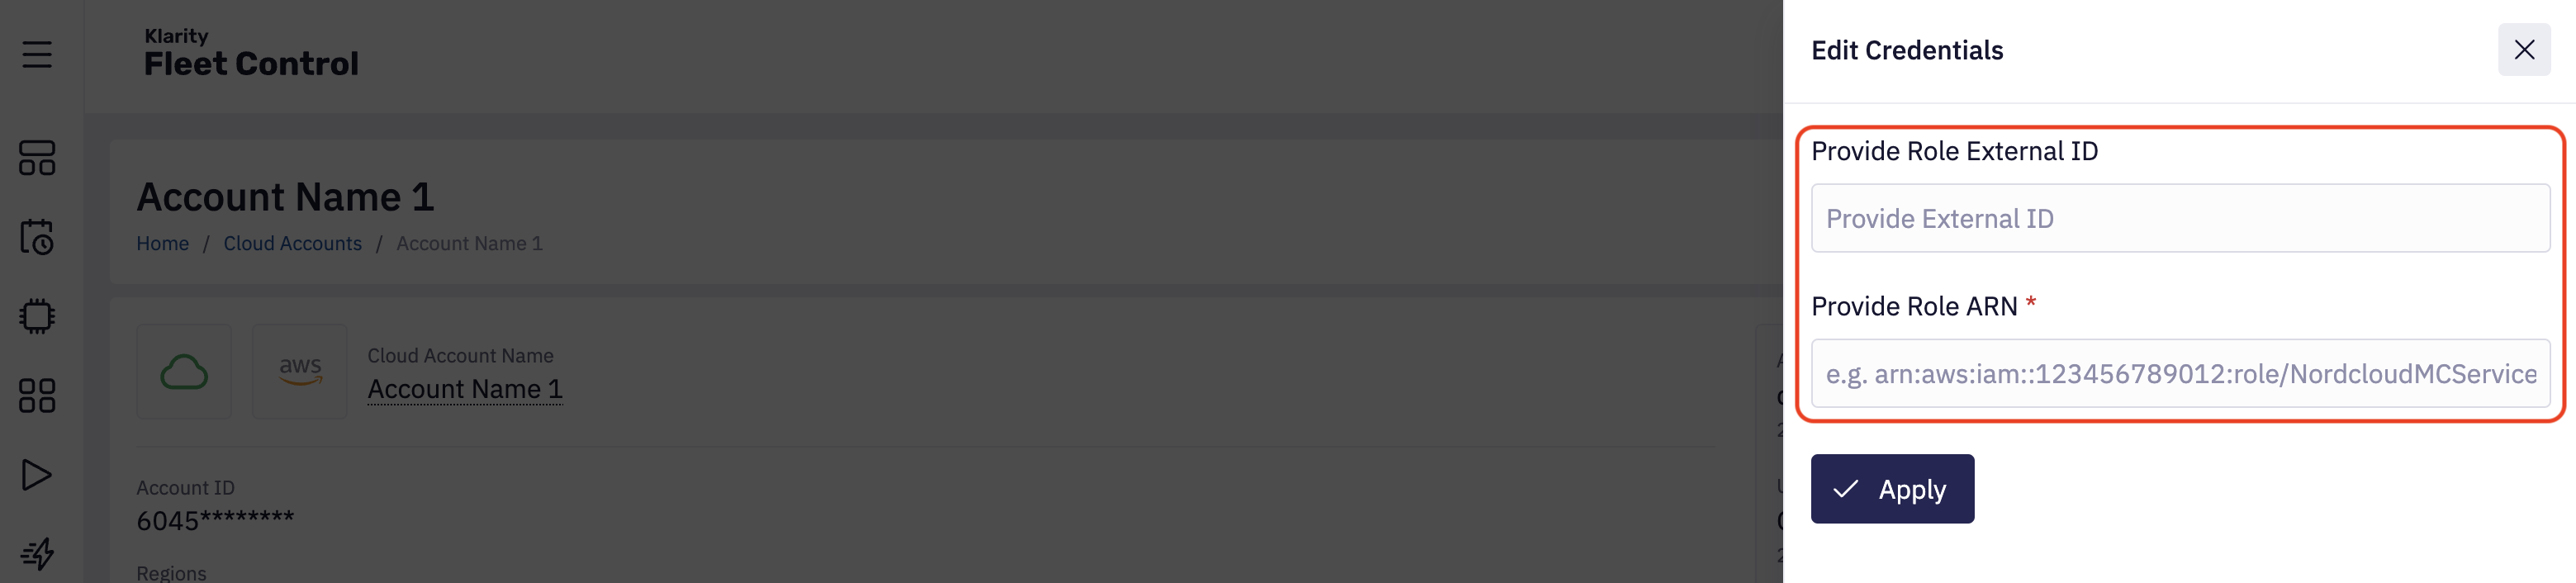
4. Update Cloud Credentials
If cloud credentials become invalid after completing the onboarding process, you can easily update them by modifying the Cloud Account configuration. Please navigate the Cloud Account details page and click Edit Credentials, On the right side, you will see the form allowing you to upload a new set of credentials.
5. Using API
Get Onboarding Template
query getAwsOnboardingTemplate {
  awsOnboardingTemplate
}
Add AWS Account
mutation addAwsAccount {
  createCloudAccount(
    input: {
      name: "ACCOUNT_NAME"
      description: "DESCRIPTION"
      provider: AWS
      providerId: "AWS_ACCOUNT_ID"
      credentials: {
        aws: { rolesChain: { arn: "IAM_ROLE_ARN", externalId: "EXTERNAL_ID" } }
      }
    }
  ) {
    id
    status
  }
}
Update EC2 Instance Role
EC2_ROLE_NAME=""
KFC_POLICY_ARN=""

aws iam attach-role-policy --policy-arn arn:aws:iam::aws:policy/AmazonSSMManagedInstanceCore --role-name $EC2_ROLE_NAME
aws iam attach-role-policy --policy-arn $KFC_POLICY_ARN --role-name $EC2_ROLE_NAME
Update Credentials
mutation updateAccountCredentials {
  updateCloudAccount(
    input: {
      id: "CLOUD_ACCOUNT_ID"
      credentials: {
        aws: { rolesChain: { arn: "IAM_ROLE_ARN", externalId: "EXTERNAL_ID" } }
      }
    }
  ) {
    id
    status
  }
}