Account Details
This page presents detailed information on managing accounts, including viewing account details, managing resources, scanning, deleting resources, and editing accounts. The information has been broken down into smaller sections for easier reading.
1. Basic Account Details
In this section, you can view and edit your primary account information, as well as see the date of your last scan.
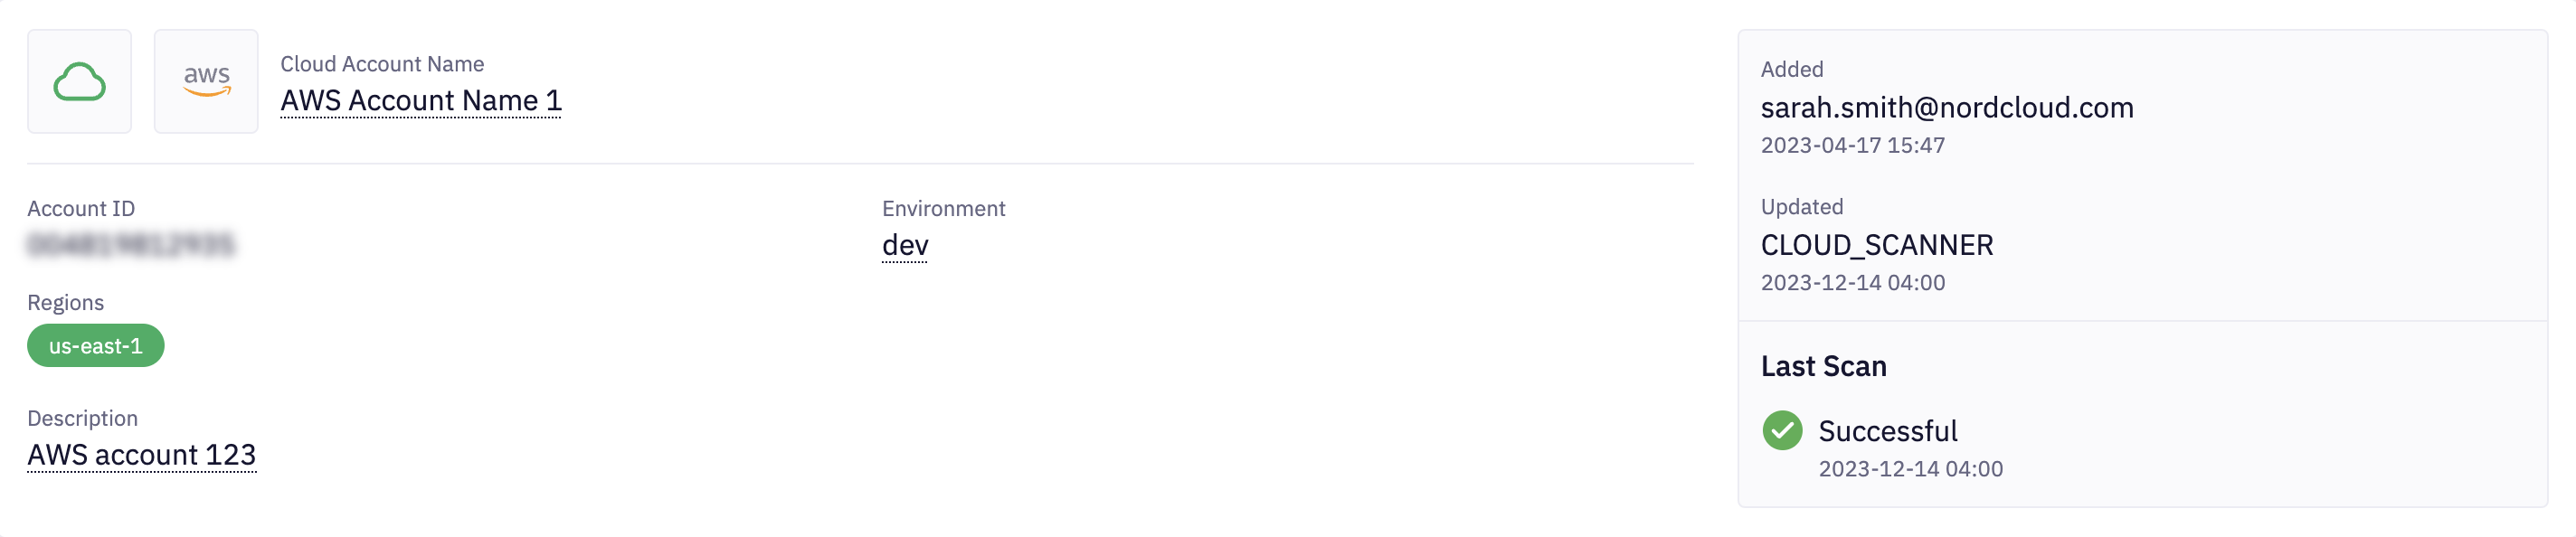
The section contains following information:
- Account Status - indicates the current status of the cloud account. In case of issues, please visit the
Troubleshooting section:
- Connected - this means your cloud account is connected, and everything is working as expected
- Access Missing - this means that credentials to access the account are missing
- Access Error - this status means that either the login credentials are invalid, expired or all regions specified by you are not accessible
- Regions Unavailable - this status means that some of the regions you specified are not accessible
- In progress - this status means that scanning process is in progress
- Provider Name - AWS, Azure, or Google Cloud
- Account Name - account name, can be modified by clicking the pencil icon button
- Account ID - the unique identifier of the account in the cloud environment
- Scan-enabled Regions - regions that are scanned for resources
Hovering over a region name will show error details, if any. There are two statuses for regions:
- Accessible - the region is accessible and has been scanned
- Inaccessible - the region could not be accessed. Please hover on the region name to see the error message
- Account Description - the account description, can be modified by clicking the pencil icon button
- Environment - can be used to select resources belonging to the Account.
- Added - who added the account to Fleet Control and when it happened
- Updated - who made the most recent changes to the account and when they happened
- Last Scan - the date and the status of the previous scan
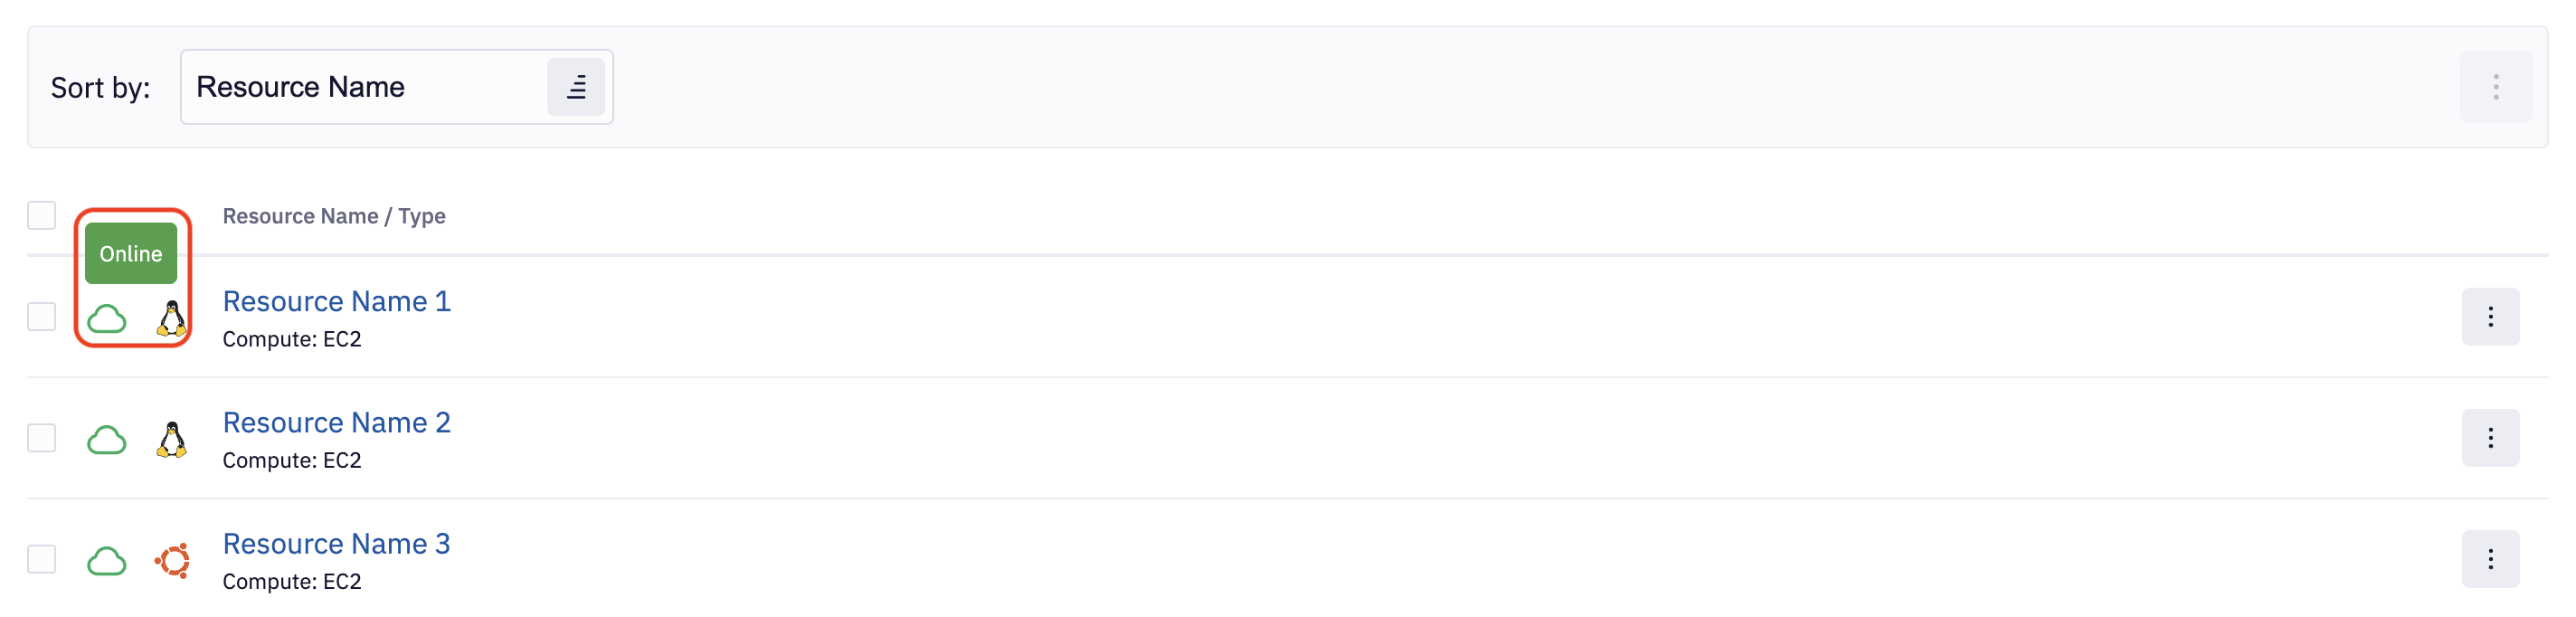
2. Cloud Account Resources
The resource list shows all resources in your cloud account. There are three statuses for resources:
- Online: Reachable by Fleet Control.
- Connection Lost: Not reachable by Fleet Control.
- Connection Status Pending: The State Manager has not checked the resource due to errors or not being run. If the status is missing for an hour, it will be set to Connection Lost.
The Resource Details page has more comprehensive information
3. Scanning Account
Every newly added Cloud Account will be immediately scanned. You should expect new resources to be added within a few minutes. In the case of large environments, this process can take longer time. The scanning process is also automatically started once a day for each account to continually provide updated information about cloud resources.
If, for any reason, you need to trigger the scanning process before the default schedule, you can use the built-in Force Scan functionality available in UI or GQL API.

Scan Account API Call
mutation triggerAccountScan {
  scanCloudAccount(id: "CLOUD_ACCOUNT_ID")
}
4. Deleting & Managing Resources
To delete a resource from Fleet Control, you need to do it with your cloud provider; it may take 1-3 days for the system to update and show the changes in Fleet Control. If you want the changes to show immediately, then you should also delete the resource from Fleet Control.
Delete Resource:
- Click on the three-dotted icon on the right-hand side and click Delete Resource.
Add Resource:
It is possible to add resources to existing resource groups in the cloud account
- Click on the three-dotted icon on the right-hand side and click Add to Resource Group.
- Then, select from the list of resource groups.
- Finally, click Add.
